 Save
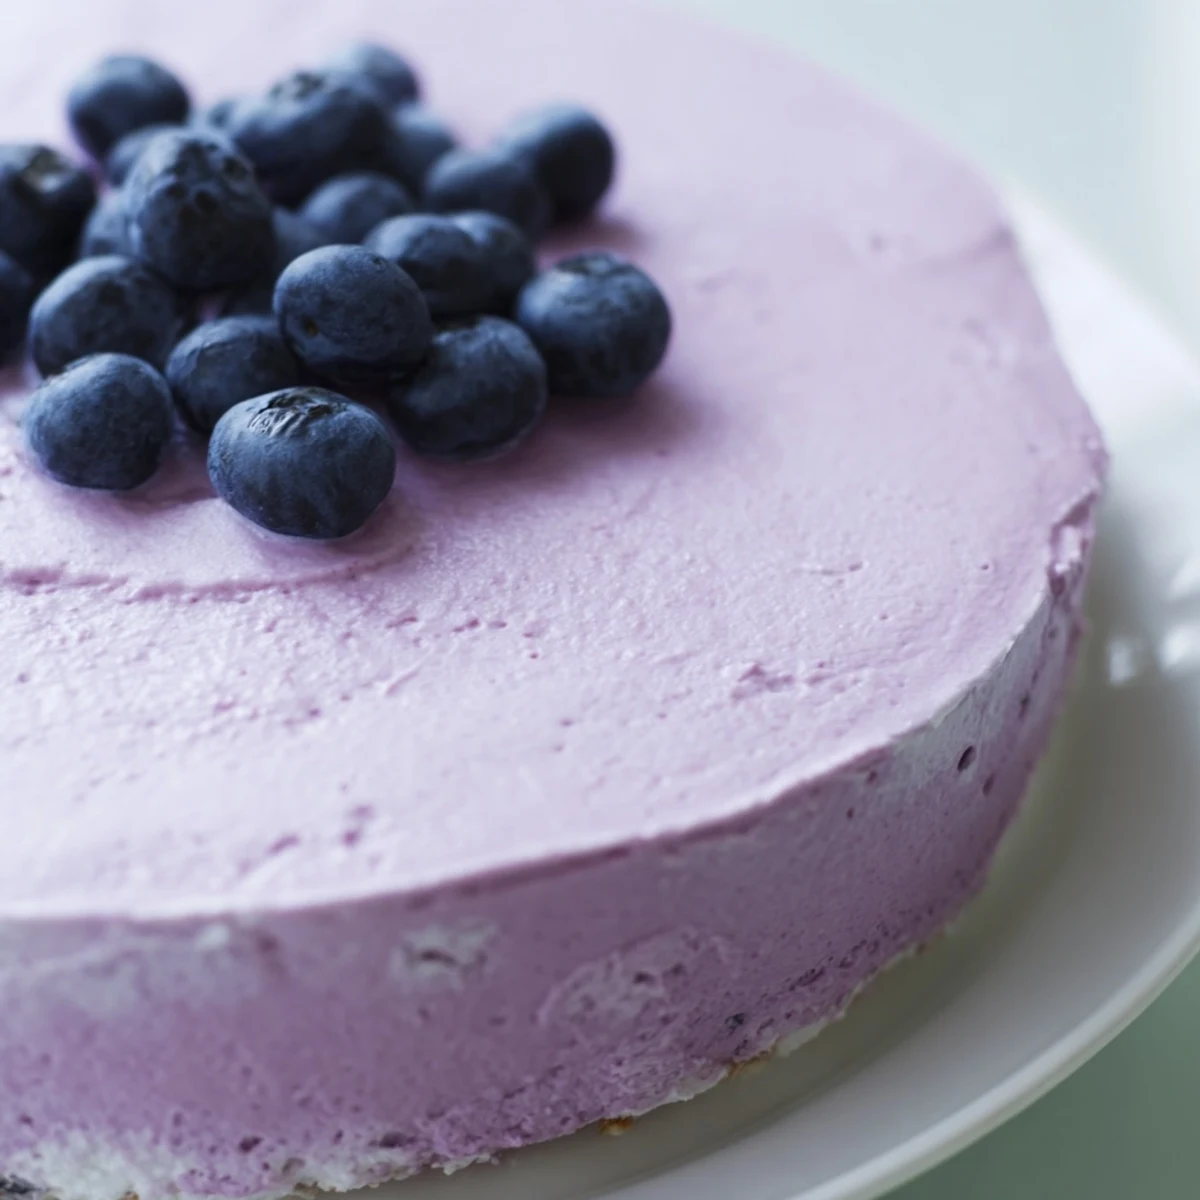
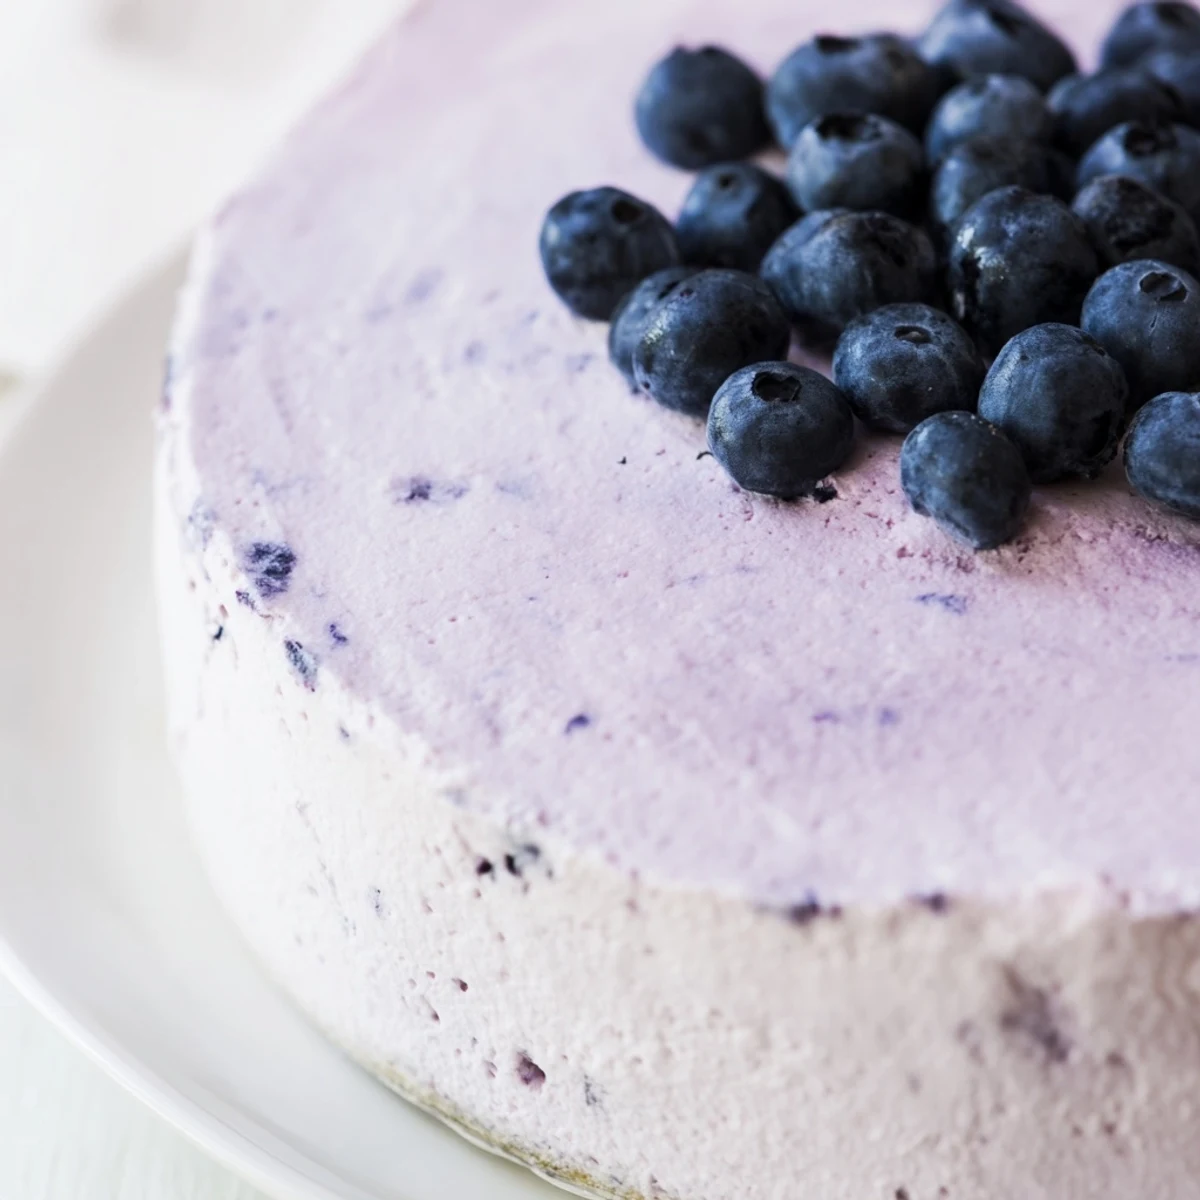
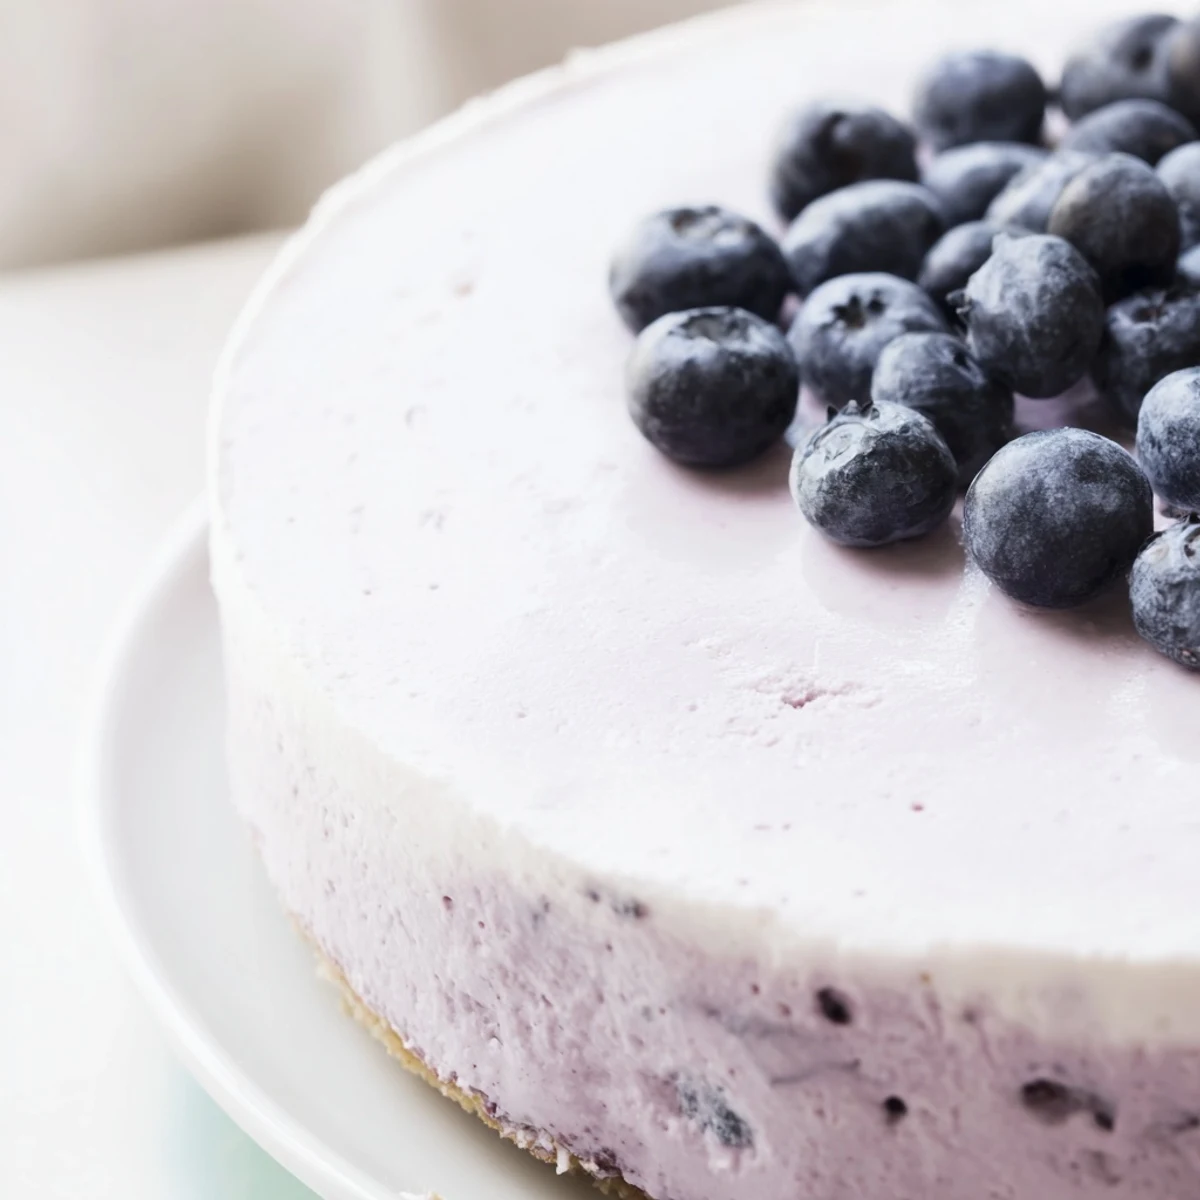
Save This blueberry mousse cheesecake combines a buttery graham cracker crust with a rich, creamy cheesecake filling, topped with a light and airy blueberry mousse. The dessert requires several hours of chilling time to set properly, making it perfect for advance preparation. Fresh blueberries provide a vibrant, fruity contrast to the rich cheesecake base, creating a beautiful and delicious dessert that serves 10 people.
The afternoon sunlight hit our dining room table just right when I first served this cheesecake, and the purple-blue berries against the cream filling looked like something from a bakery window. I'd spent the morning experimenting with what I thought would be a simple summer dessert, but something about the combination of the rich cheesecake base and that cloud-like blueberry topping made everyone go quiet. Someone asked for seconds before they'd even finished their first slice, which is usually the sign that you've stumbled onto something worth keeping around.
Last summer I brought this to a neighborhood potluck, and honestly, I was nervous because it was my first time attempting a mousse layer on top of cheesecake. The host set it on the dessert table between two store-bought cakes, and within twenty minutes, my blueberry creation was the only thing that people were actually photographing. Three different neighbors messaged me the next day asking for the recipe, which is the kind of validation that makes all the chilling and waiting time absolutely worth it.
Ingredients
- Graham crackers or digestive biscuits (200 g): These create that classic sandy crust that holds everything together, and crushing them by hand with a rolling pin is oddly therapeutic.
- Unsalted butter (80 g), melted: Don't skip melting it properly, because cold butter patches will leave you with a crumbly crust that falls apart when you try to slice it.
- Cream cheese (500 g), softened: Leave this out on the counter for at least two hours, because cold cream cheese will give you a lumpy filling no matter how long you beat it.
- Heavy cream (250 ml), cold: The temperature here matters so much when you're whipping it, and I've learned that even a slightly warm bowl can ruin your chances of getting those stiff peaks you need.
- Fresh blueberries (200 g for mousse, plus 100 g for decorating): Frozen blueberries work fine for the mousse layer since you're cooking them down anyway, but always use fresh ones for that beautiful top garnish.
Instructions
- Prepare the crust foundation:
- Crush those biscuits until they're like beach sand, then stir in the melted butter and sugar until everything clumps together when you squeeze it in your hand.
- Press and bake the base:
- Press the mixture firmly into your springform pan, using the bottom of a measuring cup to get it perfectly even, then bake at 160°C (320°F) for 10 minutes until it smells like toasted butter.
- Make the creamy filling:
- Beat the softened cream cheese and sugar until they're completely smooth, then add your eggs one at a time, mixing just enough to incorporate each one.
- Add the final touches:
- Fold in the vanilla, sour cream, and flour by hand, being gentle because overworking the eggs at this stage can cause cracks while baking.
- Bake until perfectly set:
- Pour the filling over your cooled crust and bake for 45 to 50 minutes, watching for that moment when the edges are firm but the center still has a gentle wobble.
- The cooling ritual:
- Turn off the oven and crack the door, letting the cheesecake rest for an hour in this gradual cooling process, which helps prevent those dreaded surface cracks.
- Transform blueberries into mousse magic:
- Cook your blueberries with sugar and lemon juice until they burst and release their juices, then push everything through a fine mesh sieve to catch all those seeds.
- Prepare the gelatin:
- Sprinkle your gelatin over cold water and let it bloom for 5 minutes, then gently warm it until it disappears completely before stirring it into your warm blueberry purée.
- Whip the cream:
- Beat that cold heavy cream until you have stiff peaks that stand up on their own, but be careful not to go too far or you'll end up with butter instead of cream.
- Combine and layer:
- Fold the cooled blueberry mixture into your whipped cream until it's perfectly smooth and purple, then spread it over your chilled cheesecake like you're frosting a cake.
- The final chill:
- Refrigerate everything for at least two more hours so the mousse can set properly, then top with fresh blueberries and maybe a few mint leaves if you want it to look fancy.
 Save
Save This has become my go-to dessert whenever someone asks me to bring something special, partly because it can be made a day ahead, which is huge when you're hosting. My sister actually requested this instead of a birthday cake last year, and watching her face light up when she saw those layers was better than any gift I could have bought.
Making It Gluten Free
One of my best friends has celiac, so I started making this with gluten-free digestive biscuits for her birthday a few years ago, and honestly, nobody could tell the difference. The crust still has that perfect crunch, and knowing that everyone can enjoy this dessert together makes it taste even better.
Berry Variations That Work
I've tried this same technique with raspberries and blackberries during different seasons, and both work beautifully, though I will say that raspberries need slightly less sugar because they're naturally more tart. Blackberries give you this gorgeous deep purple mousse that looks almost black in certain lighting, which is stunning on a fall dessert table.
Getting That Clean Slice
The first few times I served this, I was frustrated by how messy the slices looked, until a chef friend told me to dip my knife in hot water and wipe it clean between cuts. That simple trick changed everything, and now my slices look as professional as they taste, which is somehow just as important as the flavor itself.
- Run your knife under hot water and wipe it dry before each slice for the cleanest edges.
- Make sure the mousse is completely set before serving, because rushing this step leads to sloppy slices.
- Chill your serving plates for 10 minutes before plating, which helps the mousse hold its shape longer.
 Save
Save There's something deeply satisfying about serving a dessert that looks this impressive and tastes this good, especially when you see people's faces light up at that first bite. Make this once, and it'll become your signature summer dessert too.
Recipe Questions & Answers
- → Can I use frozen blueberries for the mousse?
-
Yes, frozen blueberries work perfectly for the mousse. Simply thaw them first and proceed with the recipe as written. Frozen berries actually help the mousse set slightly faster.
- → How do I know when the cheesecake is properly baked?
-
The cheesecake is done when the edges are set but the center still has a slight wobble. This creates the perfect creamy texture. Avoid overbaking, as it can make the cheesecake dry.
- → Can I make this gluten-free?
-
Yes, simply use gluten-free graham crackers or digestive biscuits for the crust. The rest of the recipe remains the same, making it suitable for gluten-sensitive guests.
- → What's the best way to serve this cheesecake?
-
Serve chilled, garnished with fresh blueberries and mint leaves. For an elegant touch, pair with a light sparkling wine or Moscato to complement the blueberry flavors.
- → How long can I store this cheesecake?
-
The cheesecake can be stored in the refrigerator for up to 3-4 days. Keep it covered to prevent it from drying out. The mousse may soften slightly over time but will remain delicious.