 Save
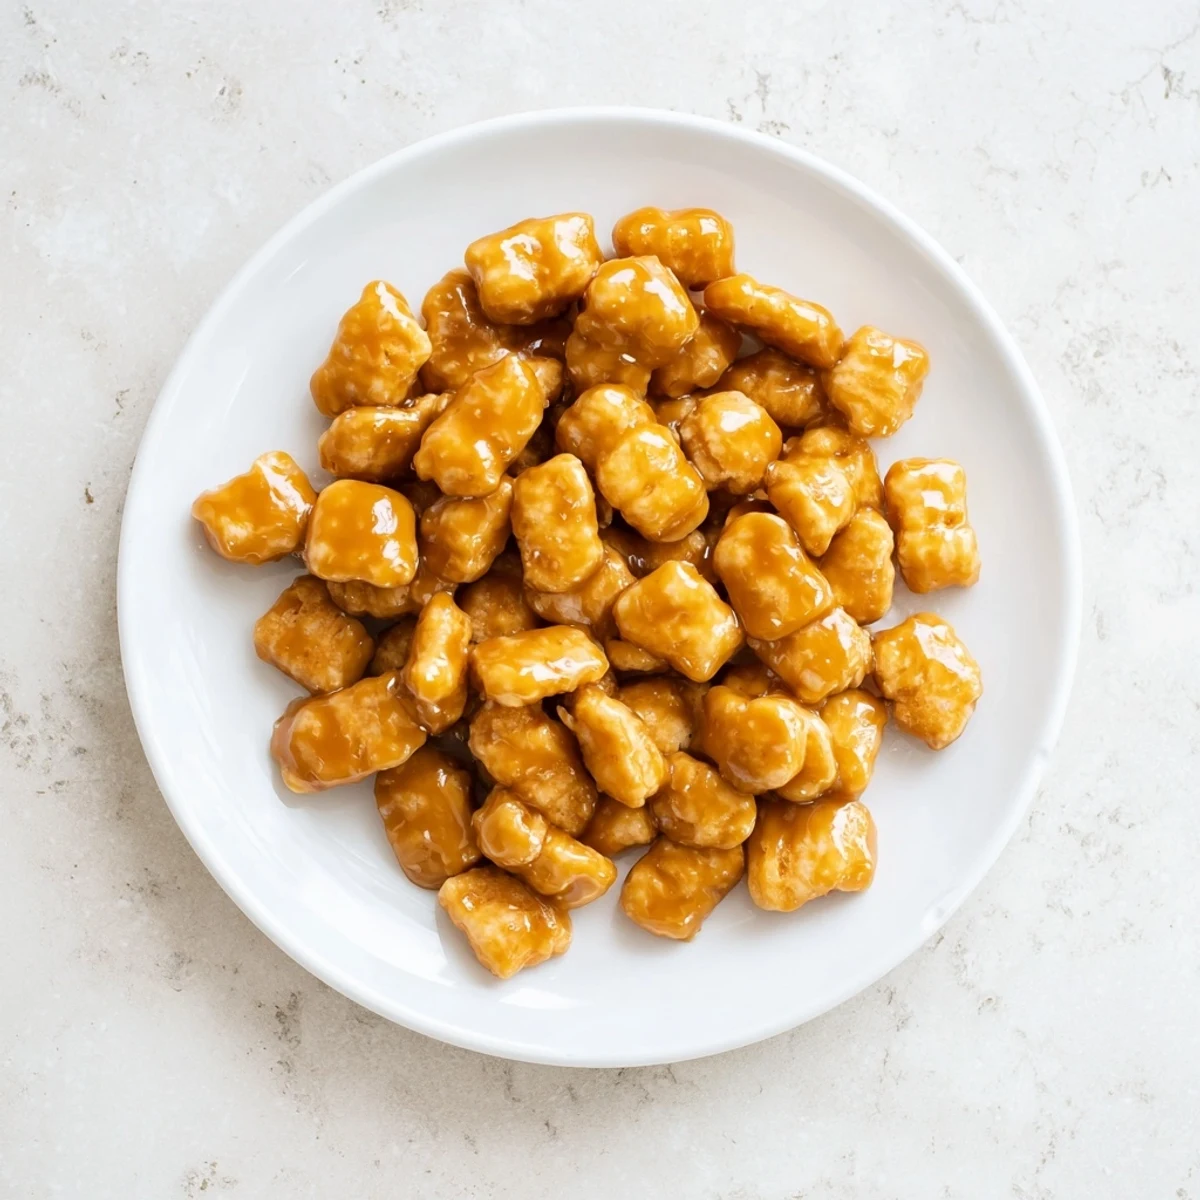
Save These crunchy oyster crackers get transformed with a rich buttery caramel coating that balances sweet and salty flavors perfectly. The process involves boiling a simple glaze of butter, brown sugar, and corn syrup, then tossing it with crackers and baking until perfectly crisp and caramelized.
The result is an addictive snack that's impossible to stop eating. The 40-minute total time includes just 10 minutes of prep, making this an effortless treat for parties, holiday gatherings, or everyday snacking. As the crackers cool, they develop an irresistible crunch while the caramel sets into a delicate, sweet coating.
Customize with cinnamon or cayenne for added depth, or swap crackers for pretzels and cornflakes. Store in an airtight container and enjoy for weeks—if they last that long.
The aroma that fills your kitchen when butter and brown sugar start bubbling together is something else entirely. My friend Sarah brought these to a game night once, and I honestly couldn't stop eating them. She laughed and said they're dangerously simple to make. Now I keep a batch in the pantry for those moments when you need something sweet but don't want to commit to baking an entire dessert.
I made these for my niece's birthday party and her dad kept sneaking handfuls every time he walked past the kitchen. By the time guests arrived, I had to quickly throw together a second batch. The beauty is they look unassuming but taste like something you'd buy at a gourmet shop. Kids and adults both reach for them with equal enthusiasm.
Ingredients
- 6 cups oyster crackers: About two standard bags, and don't worry if they get slightly crushed during coating
- 1 cup unsalted butter: Use real butter here, the flavor is the backbone of everything
- 1 cup packed light brown sugar: Pack it down into the measuring cup for the right caramel depth
- 1/3 cup light corn syrup: This keeps the caramel from becoming grainy or hard
- 1/2 teaspoon kosher salt: Balances all that sweetness perfectly
- 1/4 teaspoon baking soda: Creates that gorgeous foaming action and lighter texture
- 1 teaspoon pure vanilla extract: Adds warmth that rounds out the caramel flavor
Instructions
- Get everything ready:
- Preheat your oven to 250°F and line a large rimmed baking sheet with parchment paper or a silicone mat. Spread the oyster crackers in an even layer so they coat evenly later.
- Make the magic glaze:
- Melt butter in a medium saucepan over medium heat. Add brown sugar, corn syrup, and salt, stirring constantly until it reaches a gentle boil. Let it bubble for exactly 2 minutes without touching it.
- Watch it foam:
- Remove from heat and immediately stir in baking soda and vanilla. The mixture will puff up dramatically, which is exactly what you want.
- Coat the crackers:
- Pour that foaming caramel all over the crackers. Use a spatula to gently fold and turn everything until every cracker gets some love.
- Low and slow bake:
- Bake for 30 minutes total, but stir every 10 minutes so nothing sticks and the coating distributes evenly. Your kitchen will smell incredible.
- Cool completely:
- Let them cool right on the baking sheet. They'll crisp up as they reach room temperature, which takes about 30 minutes.
 Save
Save These became my go-to contribution for potlucks after my coworker asked for the recipe three separate times. There's something about the texture that makes them impossible to walk away from. I've started making double batches because they vanish faster than expected every single time.
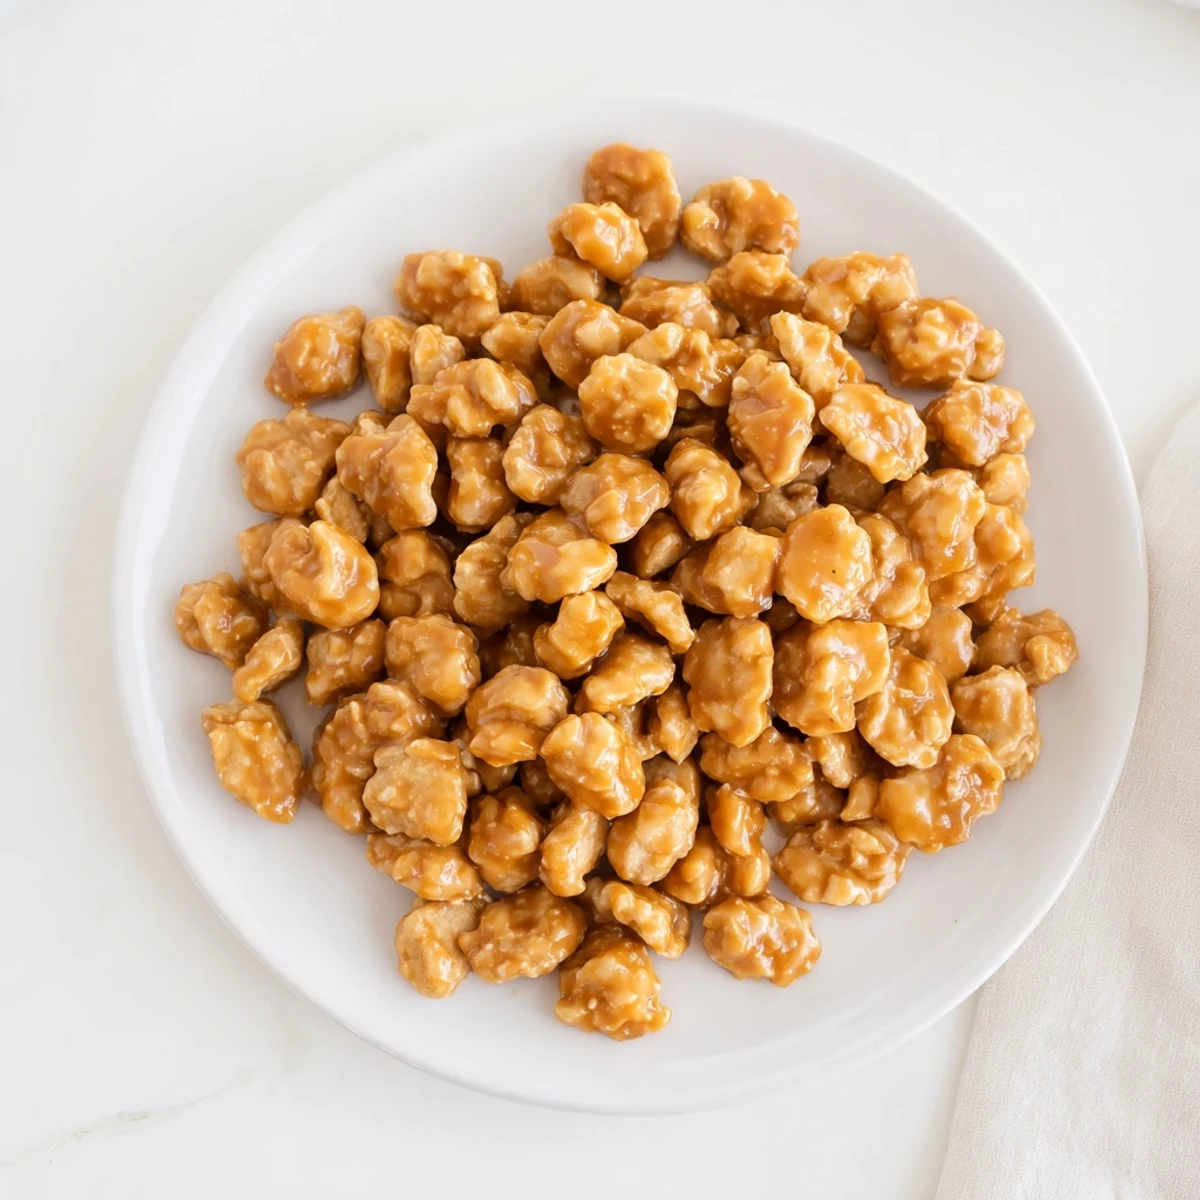
Flavor Variations
A pinch of cayenne pepper adds this incredible warmth that sneaks up on you. Cinnamon works beautifully too, especially around the holidays when you want something that feels cozy and spiced. My personal favorite is adding a tablespoon of maple syrup in place of some corn syrup for a deeper caramel flavor.
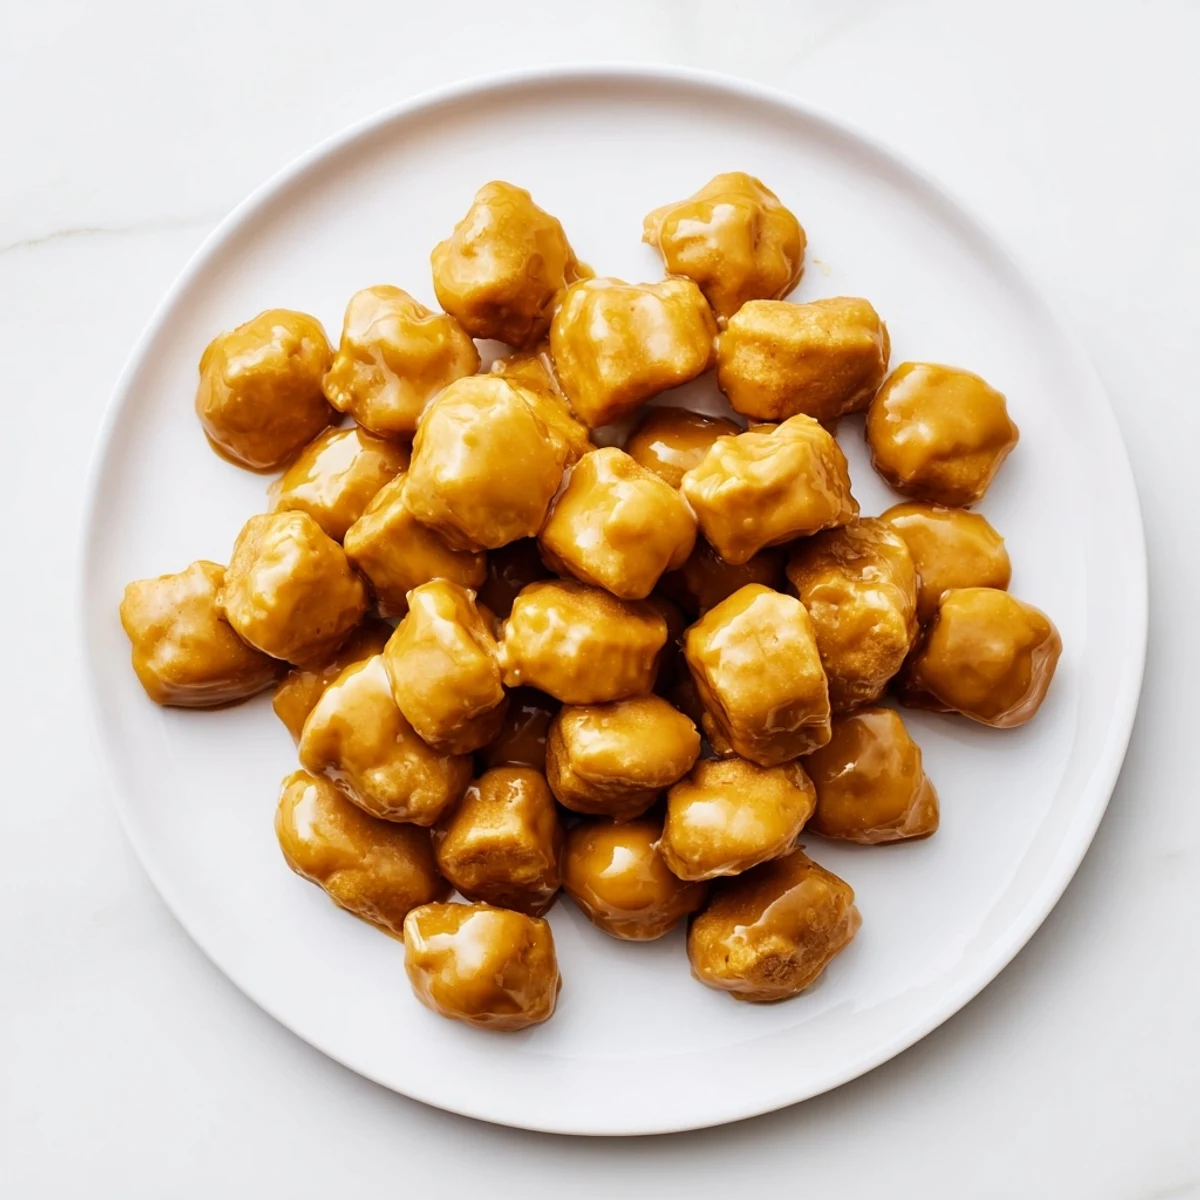
Storage Tips
These keep remarkably well in an airtight container at room temperature for up to a week, assuming they last that long. I've found glass containers work better than plastic for maintaining that perfect crunch. If they start feeling a little soft after a few days, a quick 10-minute toast in the oven brings them right back to life.
Serving Suggestions
Crush them slightly and sprinkle over vanilla ice cream for an instant sundae topping. They're also amazing alongside coffee on a lazy weekend morning. I've even used them as a topping for oatmeal crumble mixes.
- Package them in mason jars with ribbon for effortless hostess gifts
- Set them out during movie night for something more exciting than popcorn
- Keep a small bowl on your desk for a mid-afternoon pick-me-up
 Save
Save The first time I made these, I thought something had gone wrong when the mixture foamed up, but that's actually the secret to the perfect coating. Now I look forward to that puff of foam every time.
Recipe Questions & Answers
- → How do I store caramel crunch crackers?
-
Store completely cooled crackers in an airtight container or resealable bag at room temperature. They'll stay crisp and fresh for up to 2 weeks. Avoid refrigeration as moisture can make them lose their crunch.
- → Can I make these ahead of time for parties?
-
Absolutely! These crackers actually taste better after sitting for a day, allowing the caramel flavors to fully develop. Make them 1-2 days before your event and store in an airtight container until ready to serve.
- → What other crackers or snacks can I use?
-
Mini pretzels, saltine crackers, Cheez-Its, or even cornflakes work beautifully. The key is choosing something lightweight and crisp that can hold up to the hot caramel coating without becoming soggy.
- → Why do I need to stir every 10 minutes while baking?
-
Stirring ensures every piece gets evenly coated with caramel and prevents the crackers on the edges from burning. It also helps redistribute the glaze as it melts and creates that perfect caramelized crunch on all surfaces.
- → Can I double this batch?
-
Yes, but you'll need to bake in two batches or use two large baking sheets. Overcrowding prevents even baking and coating. The baking time remains the same, just keep an eye on them to prevent burning.
- → Why did my caramel turn grainy?
-
This usually happens if the sugar doesn't fully dissolve before boiling. Make sure to stir constantly until the mixture comes to a boil, and ensure your brown sugar is fresh and soft. The baking soda also helps create a smooth, foamy texture.