 Save
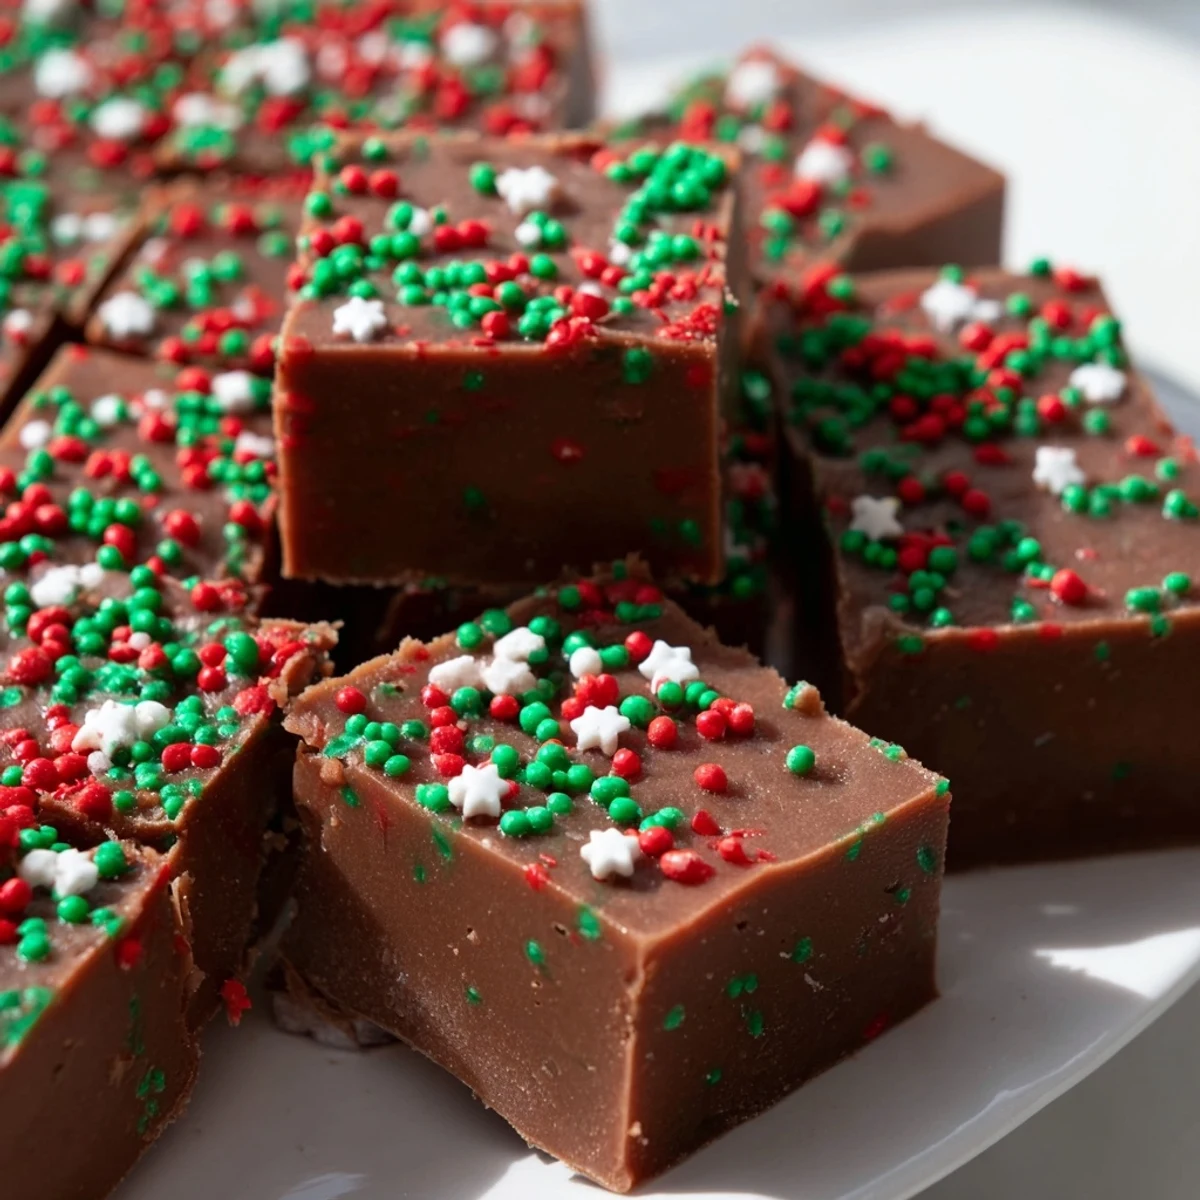
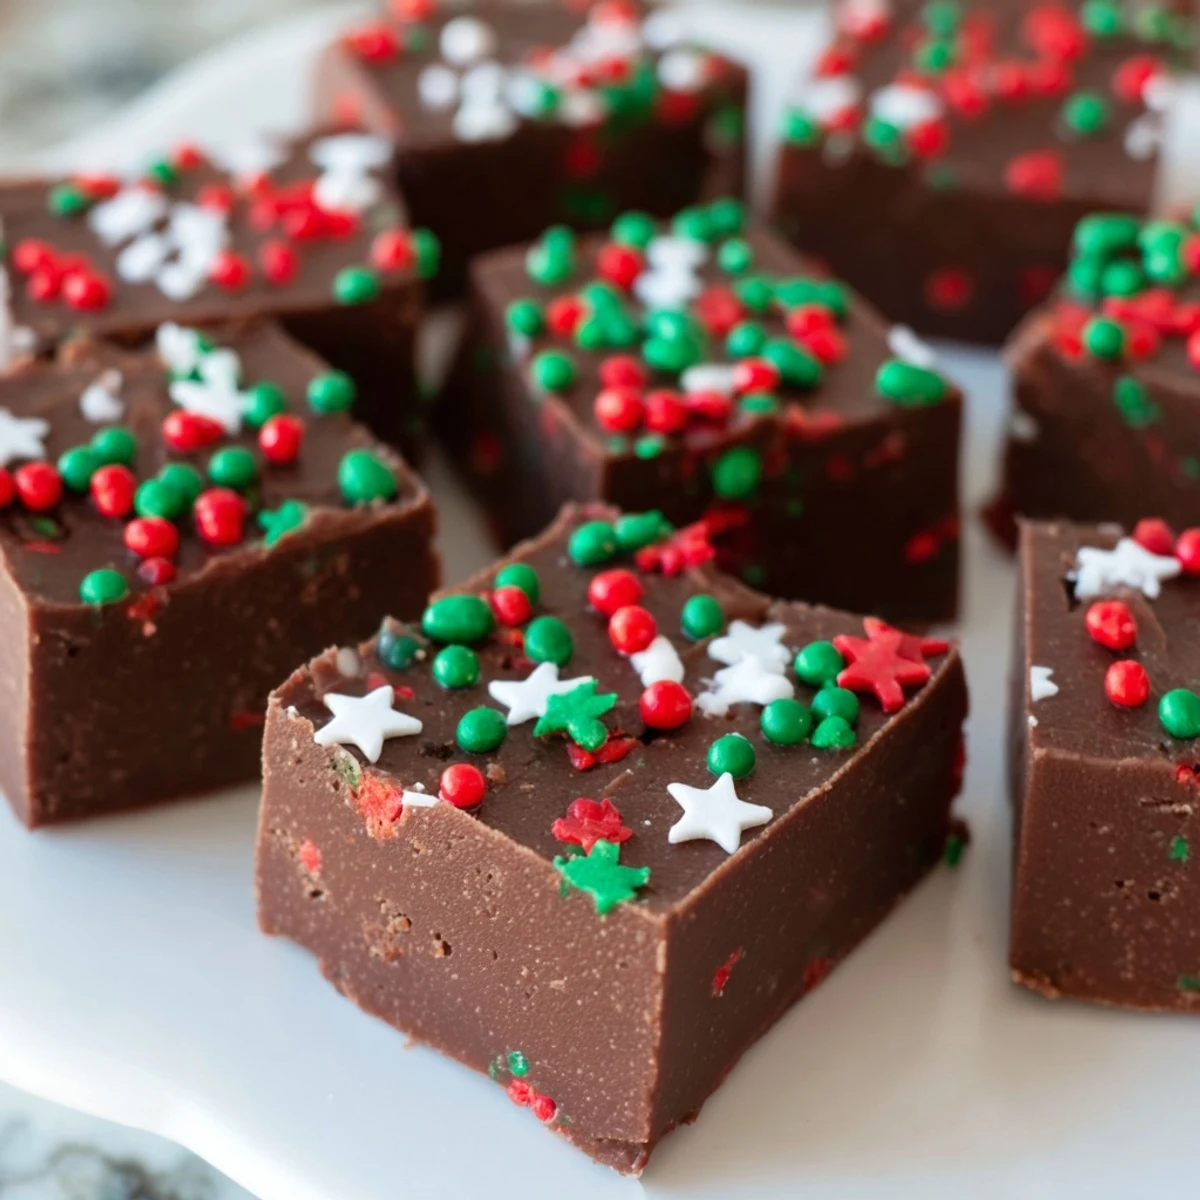
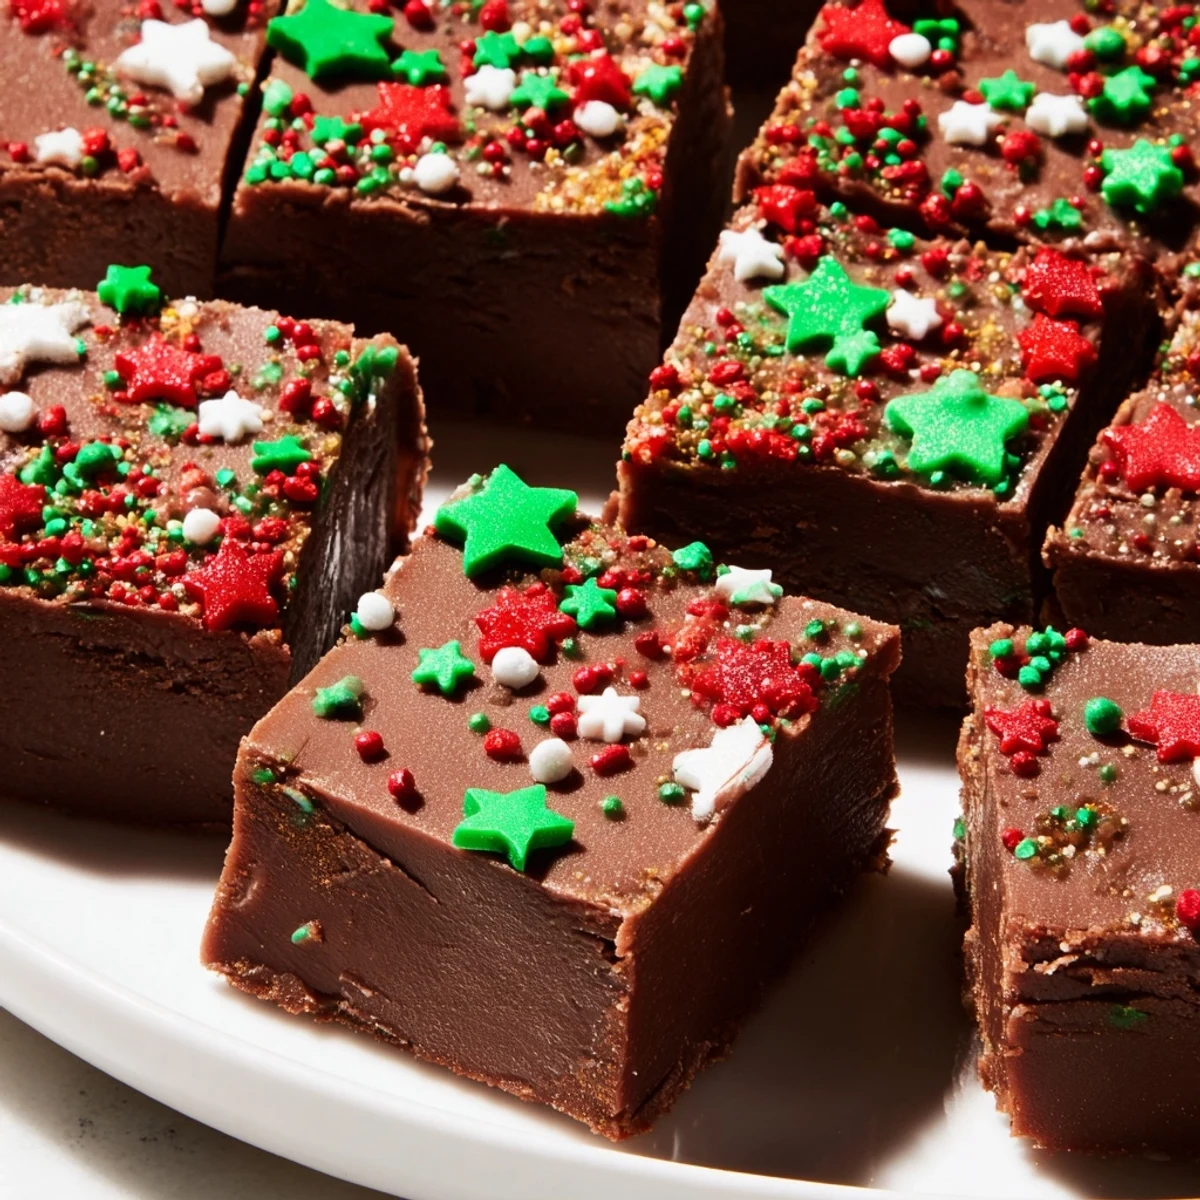
Save This Christmas fudge with sprinkles comes together with just a handful of pantry staples—semi-sweet chocolate chips, sweetened condensed milk, butter, vanilla, and colorful holiday sprinkles. The stovetop method takes only minutes of active cooking before chilling sets the fudge to a perfectly creamy, sliceable consistency.
With no candy thermometer required, this is an ideal holiday project for beginners or for making with kids. Each batch yields 25 generous squares, making it great for cookie trays, party platters, or homemade edible gifts during the festive season.
The smell of melting chocolate on a cold December afternoon is enough to make anyone stop whatever they are doing and wander into the kitchen. My niece once stood on a step stool watching me stir fudge, her eyes wide as the glossy mixture came together, and she declared it looked like a chocolate river. That image stays with me every holiday season now. This fudge is the kind of effortless magic that makes you look like you tried far harder than you actually did.
One year I brought a tin of this fudge to a holiday potluck and three people quietly pulled me aside to ask for the recipe before the night was over. There is something about that dense creamy bite that makes people think you spent all day over a double boiler. The truth is you barely broke a sweat.
Ingredients
- Semi sweet chocolate chips (3 cups): Use good quality chips because the flavor of the fudge depends almost entirely on them, and cheaper chips tend to leave a waxy texture behind.
- Sweetened condensed milk (1 can, 14 oz): This is the backbone of the creamy texture, so do not substitute evaporated milk or anything else, as only condensed milk has the right sugar and thickness.
- Unsalted butter (4 tbsp, cut into pieces): Butter adds richness and helps the fudge set with a smooth snap rather than turning crumbly.
- Vanilla extract (1 tsp): A small amount rounds out the chocolate flavor and makes it taste less one dimensional.
- Holiday sprinkles (1/3 cup): Pick classic rainbow or seasonal shapes, but avoid the tiny round silver dragées as they can be too hard to bite into.
Instructions
- Prepare the pan:
- Line an 8 inch square baking pan with parchment paper, leaving a generous overhang on two sides so you can lift the fudge out later without any wrestling.
- Melt everything together:
- Set a medium saucepan over low heat and add the chocolate chips, condensed milk, and butter pieces, then stir constantly with a spatula until the mixture is completely smooth and glossy with no lumps remaining.
- Add vanilla and pour:
- Take the pan off the heat, stir in the vanilla extract, and immediately pour the fudge into your prepared pan, using the spatula to smooth the top into an even layer.
- Top with sprinkles:
- Scatter the holiday sprinkles evenly across the surface while the fudge is still warm and soft, then press them in gently with your fingertips or the back of a spoon so they adhere.
- Chill until set:
- Refrigerate the fudge for at least two hours until it is completely firm to the touch and holds its shape when pressed lightly in the center.
- Cut and serve:
- Grab the parchment overhang to lift the whole slab out of the pan, set it on a cutting board, and use a sharp knife to slice it into 25 even squares.
 Save
Save I started making extra batches after realizing that one pan never survived gift wrapping season in our house. Wrapped in cellophane with a bit of ribbon, these little squares became my go to present for neighbors, teachers, and anyone I might have forgotten to shop for.
Swapping the Chocolate
Semi sweet is the crowd favorite but dark chocolate transforms this into something deeply sophisticated that pairs beautifully with red wine after dinner. Milk chocolate works too, though it produces a sweeter and slightly softer fudge, so you may need to chill it a bit longer before cutting. A pinch of flaky sea salt on top of the dark version is an elegant touch that surprises people.
Adding Texture and Mix Ins
Stir half a cup of chopped walnuts or pecans into the warm fudge right before pouring it into the pan if you want a satisfying crunch in every bite. Crushed peppermint candies, toffee bits, or even dried cherries are wonderful additions that make the recipe feel new each time. Just keep the total amount of mix ins under a cup so the fudge still holds together when sliced.
Storing and Gifting
This fudge stays fresh in an airtight container in the refrigerator for up to two weeks, which means you can make it well ahead of any party or holiday deadline. Let it sit at room temperature for about fifteen minutes before serving so the texture softens into that perfect creamy bite. For gifts, cut the squares small and layer them between sheets of parchment inside a decorative tin.
- Always check your sprinkle packaging for allergen warnings if you are gifting to families with kids.
- A cold pan and a hot knife dipped in warm water will give you the cleanest cuts.
- Label your gift tins with the ingredients so no one gets an unwanted surprise.
 Save
Save Some recipes earn a permanent spot in your holiday rotation not because they are impressive but because they bring genuine joy with almost no effort. This fudge does exactly that, every single time.
Recipe Questions & Answers
- → Can I use milk or dark chocolate instead of semi-sweet chips?
-
Yes, you can swap semi-sweet chocolate chips for milk or dark chocolate depending on your sweetness preference. Milk chocolate will produce a sweeter, milder fudge, while dark chocolate adds a richer, more intense flavor. Keep in mind that the sweetness level will change since sweetened condensed milk already adds significant sweetness.
- → How long does this fudge need to chill before cutting?
-
The fudge needs to refrigerate for at least 2 hours to fully set before slicing. For the cleanest cuts, you can chill it overnight. Use the parchment paper overhang to lift the entire block out of the pan, then cut with a sharp knife into 25 even squares.
- → How should I store leftover fudge and how long does it last?
-
Store the fudge in an airtight container in the refrigerator for up to 2 weeks. You can also freeze it for longer storage—wrap pieces individually in wax paper and place in a freezer-safe container for up to 3 months. Thaw in the refrigerator before serving.
- → Why is my fudge grainy or not smooth?
-
Grainy fudge usually results from cooking over heat that is too high or stirring inconsistently. Always use low heat and stir constantly while melting the chocolate mixture. Removing the saucepan from heat as soon as everything is melted and smooth prevents the chocolate from seizing or becoming grainy.
- → Can I add nuts or other mix-ins to this fudge?
-
Absolutely. Stir in about half a cup of chopped walnuts, pecans, or peanuts after removing the mixture from heat and before pouring into the pan. You can also add crushed candy canes, toffee bits, dried cranberries, or a swirl of peanut butter for creative holiday variations.
- → Can I make this fudge without a stove?
-
Yes, you can melt the chocolate chips, sweetened condensed milk, and butter together in the microwave. Use a microwave-safe bowl and heat in 30-second intervals, stirring between each, until completely smooth. Then stir in the vanilla and proceed with pouring and topping as directed.