 Save
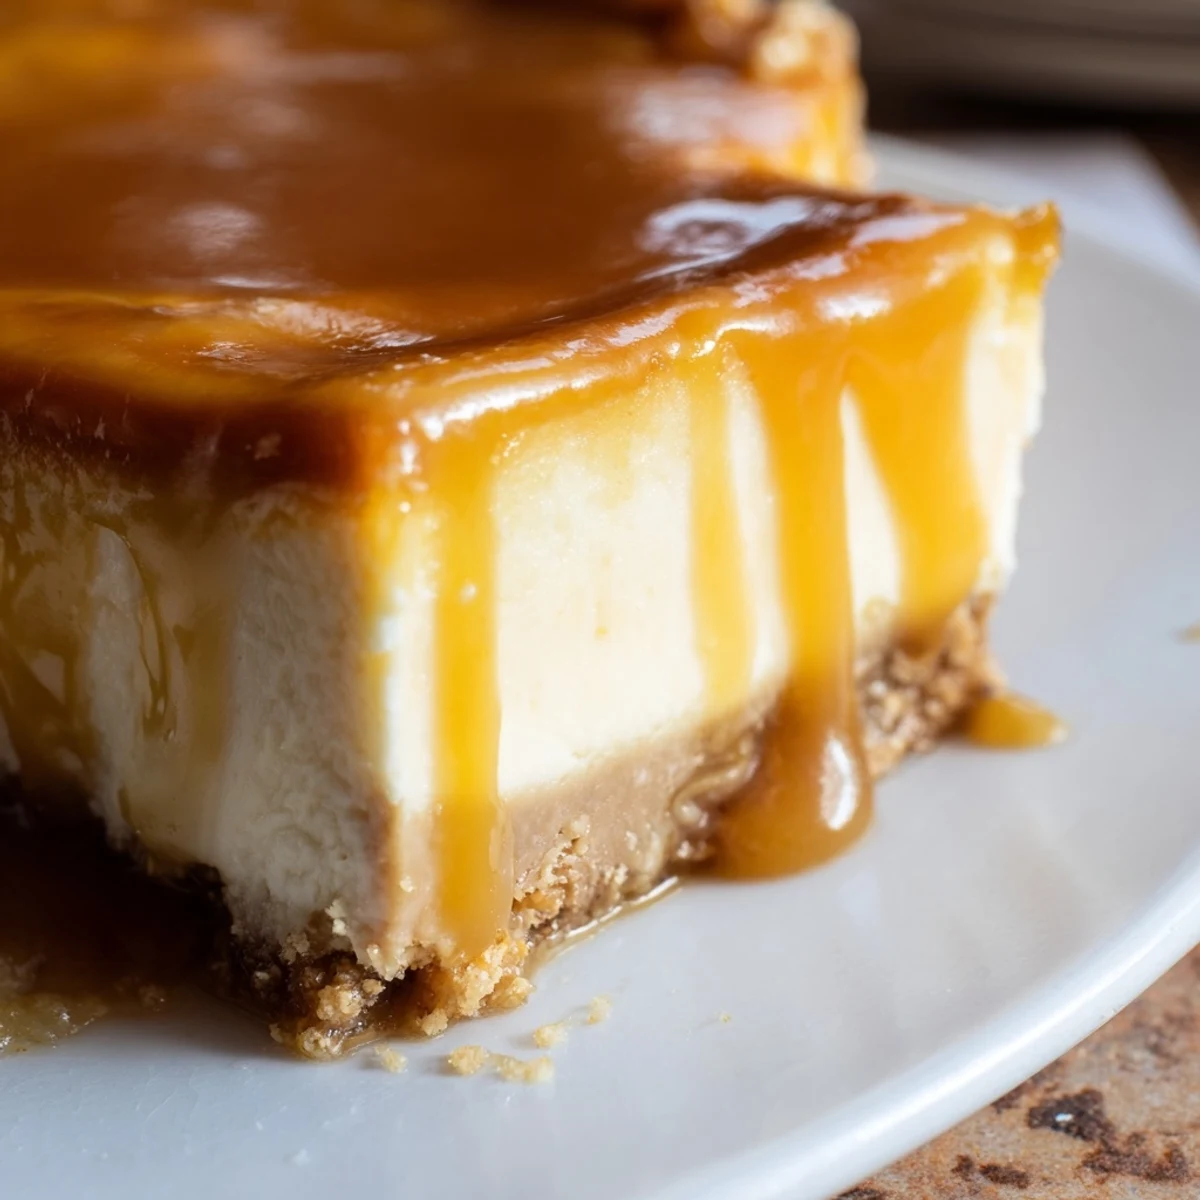
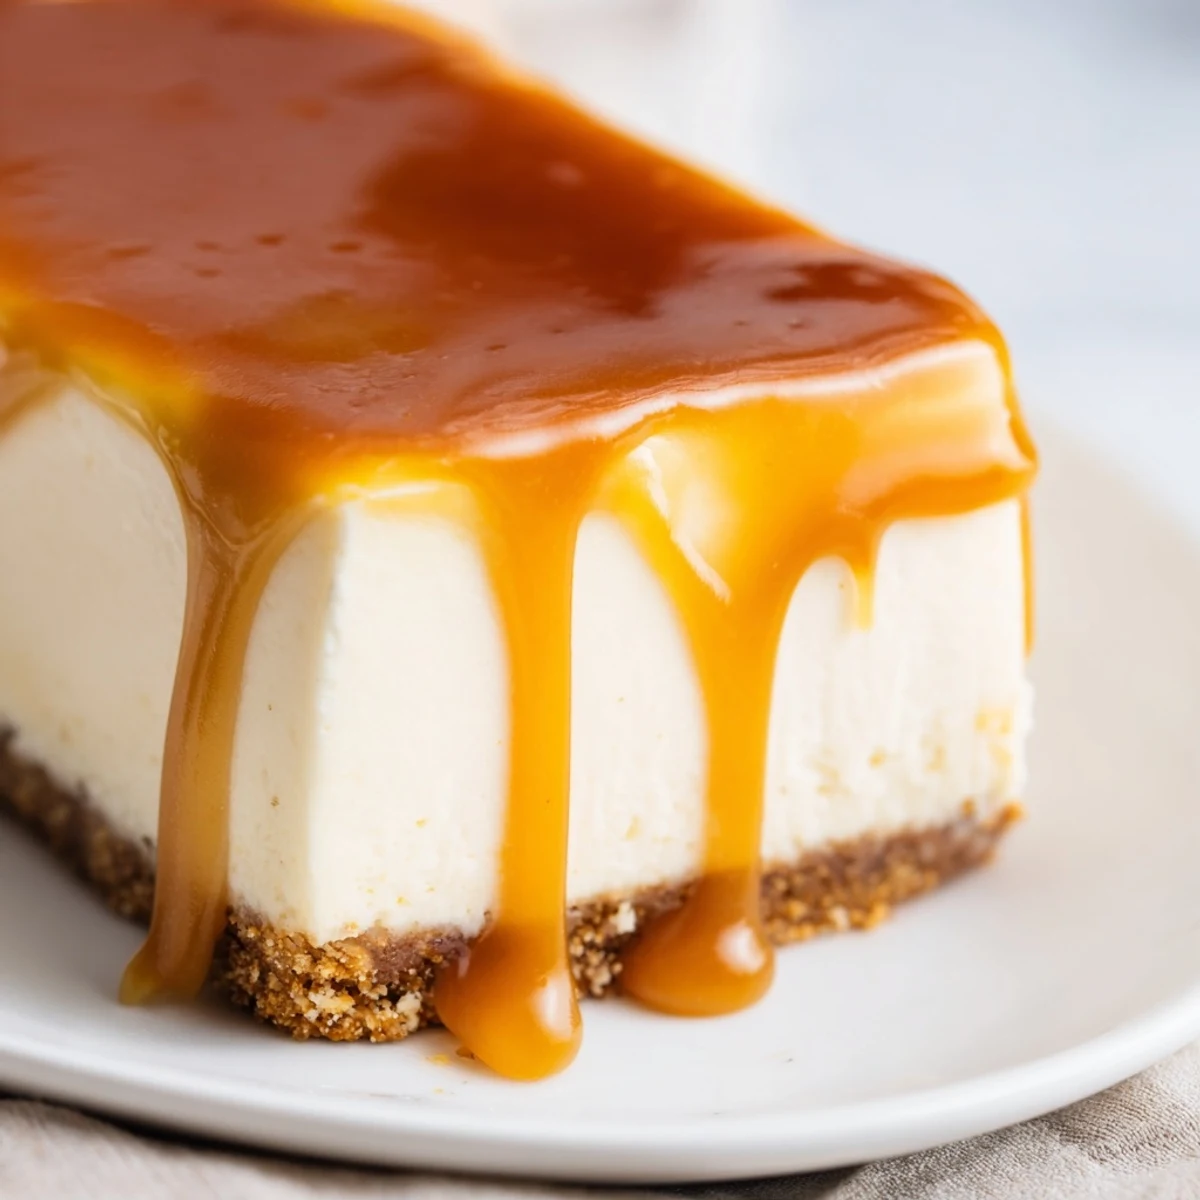
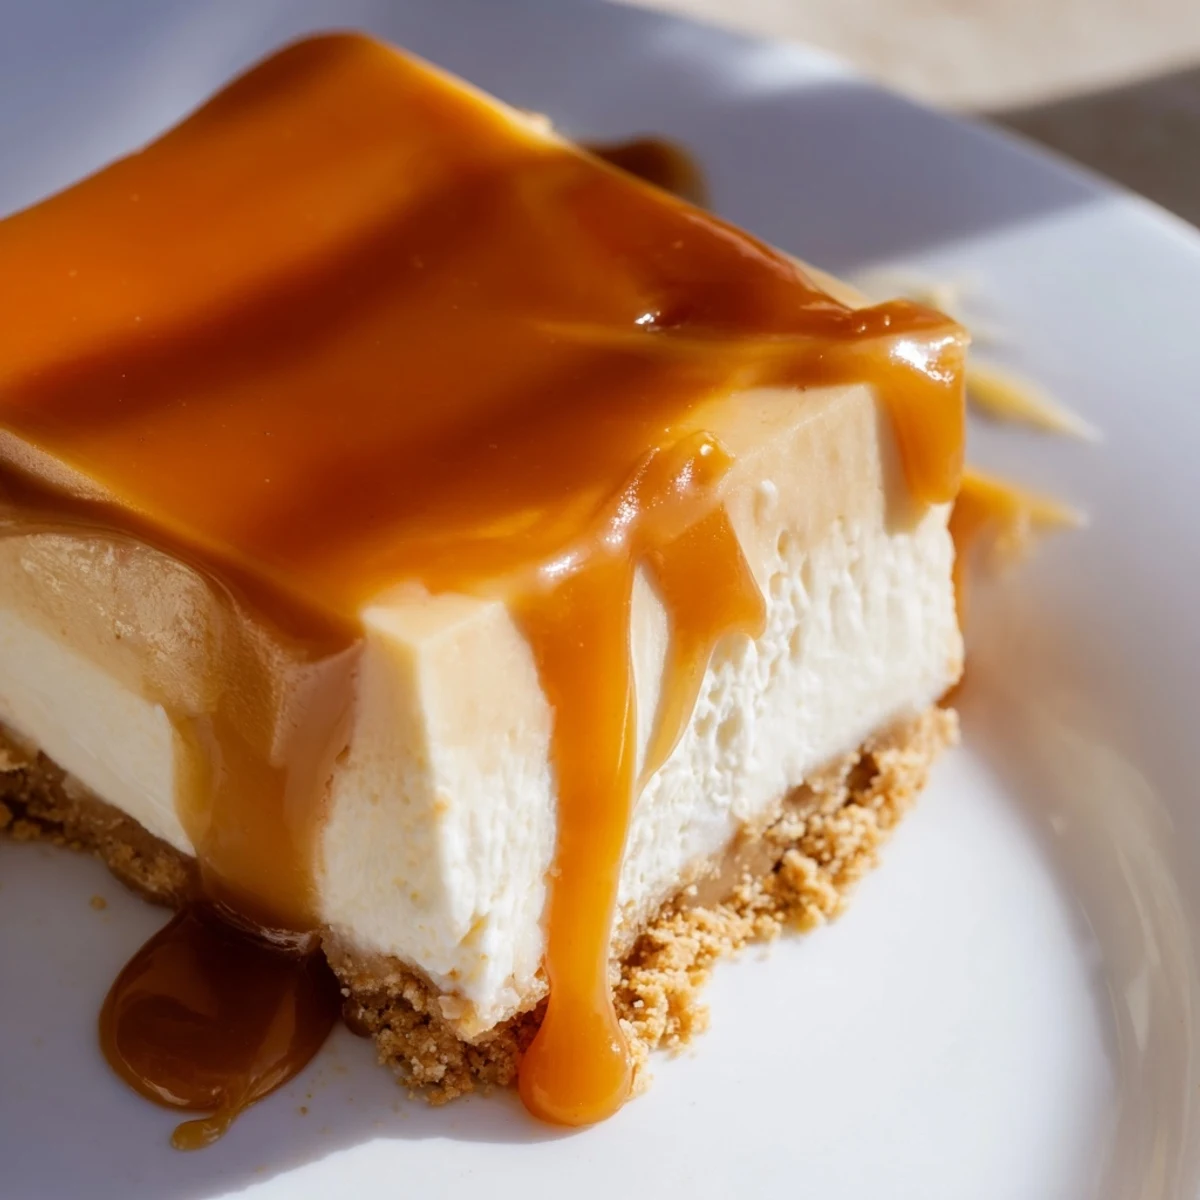
Save These luscious bars combine velvety cheesecake filling with a crisp graham cracker base and luxurious homemade caramel topping. The result is an irresistibly creamy dessert perfect for entertaining or satisfying sweet cravings.
Each layer brings distinct textures and flavors—the crunchy buttery crust provides foundation, while the smooth cheesecake center balances sweetness with tang. The crowning glory is the deep amber caramel, adding rich complexity and finishing touch.
While preparation requires some patience for chilling and caramel-making, the impressive presentation and crowd-pleasing taste make every step worthwhile. Serve chilled for best texture and flavor experience.
My kitchen became a dangerous place the afternoon I decided making caramel from scratch was a casual Tuesday activity. Three failed attempts later, I watched my fourth batch transform from clear sugar syrup into that perfect amber color like it was magic, finally understanding why people fear candy making.
I brought these to a friend's birthday dinner last summer, and before we even cut into the cake, half the bars had disappeared. People were sneaking them from the kitchen like I wouldn't notice the shrinking platter.
Ingredients
- Graham cracker crumbs: Creating that buttery, sandy foundation that holds everything together and reminds us why cheesecake crusts are essential
- Cream cheese: Use full fat and let it soften completely unless you want lumpy filling like my first attempt taught me
- Sugar: The base for both the sweet filling and that dangerous caramel topping that makes these irresistible
- Eggs: Room temperature eggs blend smoothly without overmixing which prevents cracks
- Heavy cream: Transforms hot sugar into silky caramel sauce that coats the back of a spoon perfectly
Instructions
- Build the crust foundation:
- Press the crumb mixture firmly into your pan using the bottom of a measuring cup for even thickness that won't crumble when sliced
- Cream the filling:
- Mix until just combined to avoid incorporating air bubbles that cause cracks, though a few imperfections just prove it's homemade
- Bake gently:
- The center should still jiggle slightly when you remove it since residual heat finishes the cooking
- Master the caramel:
- Swirl the pan instead of stirring to prevent crystallization, and have your cream measured and ready before the sugar reaches amber
 Save
Save These bars became my go to for potlucks after watching my normally health conscious friend eat three at a summer BBQ while claiming she was just helping me taste test.
Making Caramel Less Scary
The secret is trusting your eyes more than the timer and resisting the urge to stir. Once you see that amber color developing, remove it from heat immediately because the hot pan continues cooking the sugar.
Getting Perfect Clean Slices
Run your knife under hot water and wipe it clean between cuts for those gorgeous restaurant style edges. Chill the bars thoroughly first so the caramel sets firm instead of oozing everywhere.
Make Ahead Magic
The whole recipe can be prepared two days ahead, keeping the flavors well developed and the stress minimal. These bars actually taste better after sitting overnight.
- Let the caramel cool for ten minutes before pouring so it spreads easily without tearing the cheesecake
- Sprinkle flaky salt immediately after pouring caramel so it sticks instead of bouncing off
- Store leftovers in the refrigerator covered tightly, though they rarely last long enough to worry about storage
 Save
Save Every time I make these, someone asks for the recipe, and I always share it because everyone deserves to experience that first bite of creamy cheesecake with salty sweet caramel.
Recipe Questions & Answers
- → How long do these bars need to chill before serving?
-
The cheesecake layer requires at least 2 hours of refrigeration to set properly. After adding the caramel topping, plan for another hour of chilling. For optimal texture and clean cutting, refrigerate for 3-4 hours total before serving.
- → Can I make the caramel topping in advance?
-
Yes, prepare the caramel sauce up to 3 days ahead and store in an airtight container in the refrigerator. Gently reheat before pouring over the chilled cheesecake layer to achieve spreadable consistency.
- → What's the best way to achieve clean cuts?
-
Use a sharp knife dipped in hot water and wiped clean between each cut. For absolute cleanest edges, briefly freeze the finished bars for 15-20 minutes before slicing, then bring to room temperature before serving.
- → Can I substitute the graham cracker crust?
-
Digestive biscuits work beautifully as an alternative. Simply crush them to fine crumbs and proceed with the same measurements. Other cookie varieties like vanilla wafers or shortbread can also create delicious crust variations.
- → How should I store these bars?
-
Keep refrigerated in an airtight container for up to 5 days. Place parchment paper between layers to prevent sticking. The bars can also be frozen for up to 2 months—wrap individually in plastic wrap and place in freezer-safe containers.
- → What causes the caramel to crystallize?
-
Crystallization occurs when sugar crystals form on the sides of the pan and fall into the mixture. To prevent this, avoid stirring the sugar-water mixture—simply swirl the pan gently. Using a clean saucepan and brushing down any crystals with a wet pastry brush also helps achieve smooth caramel.