 Save
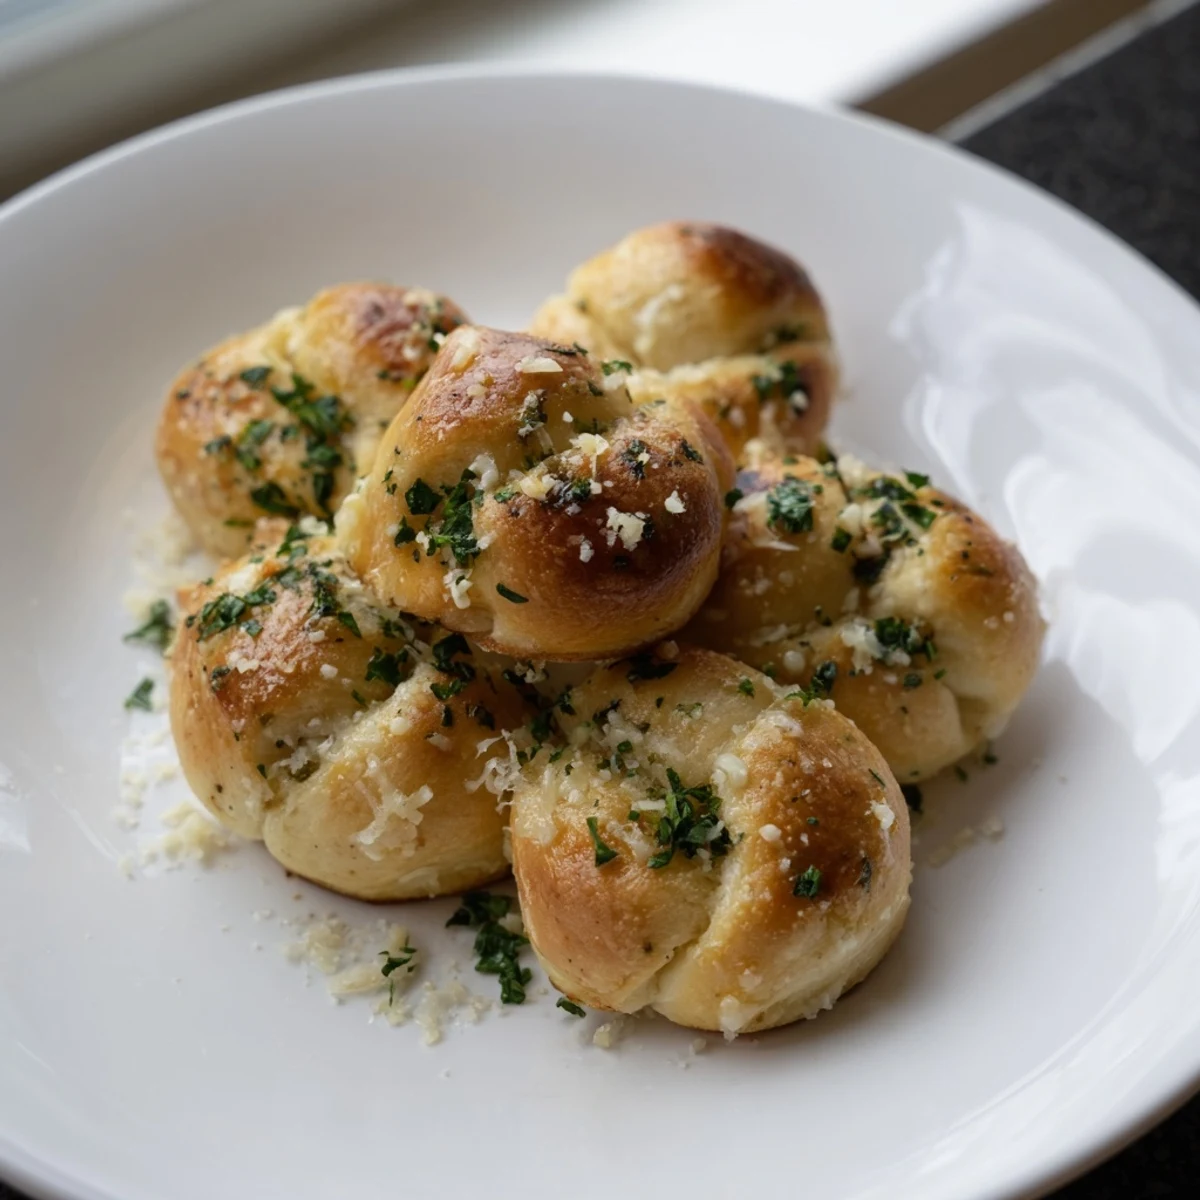
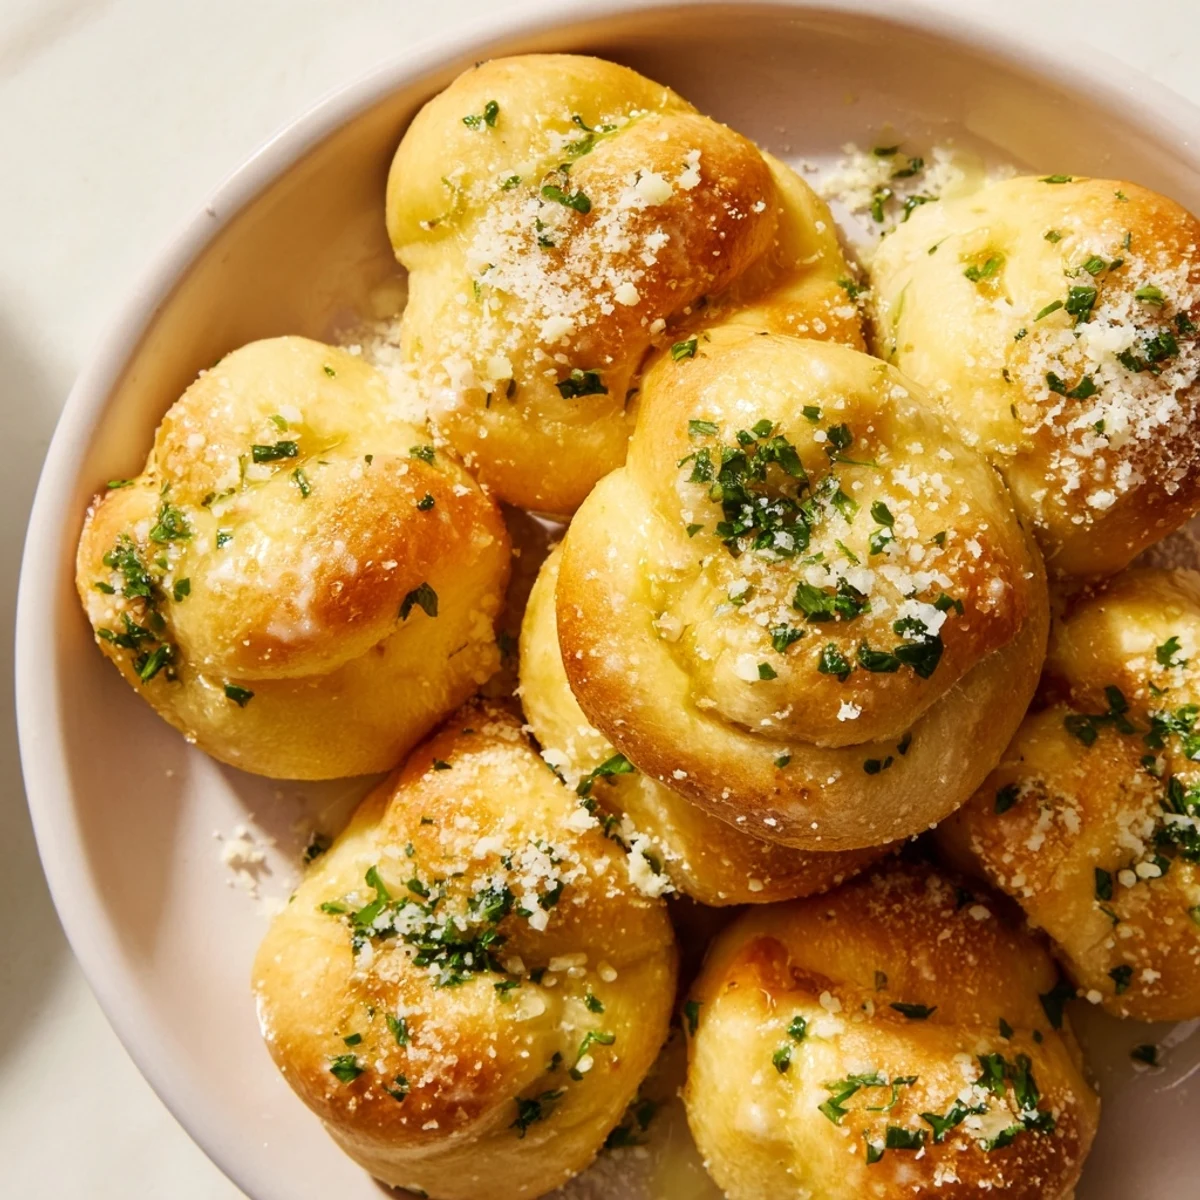
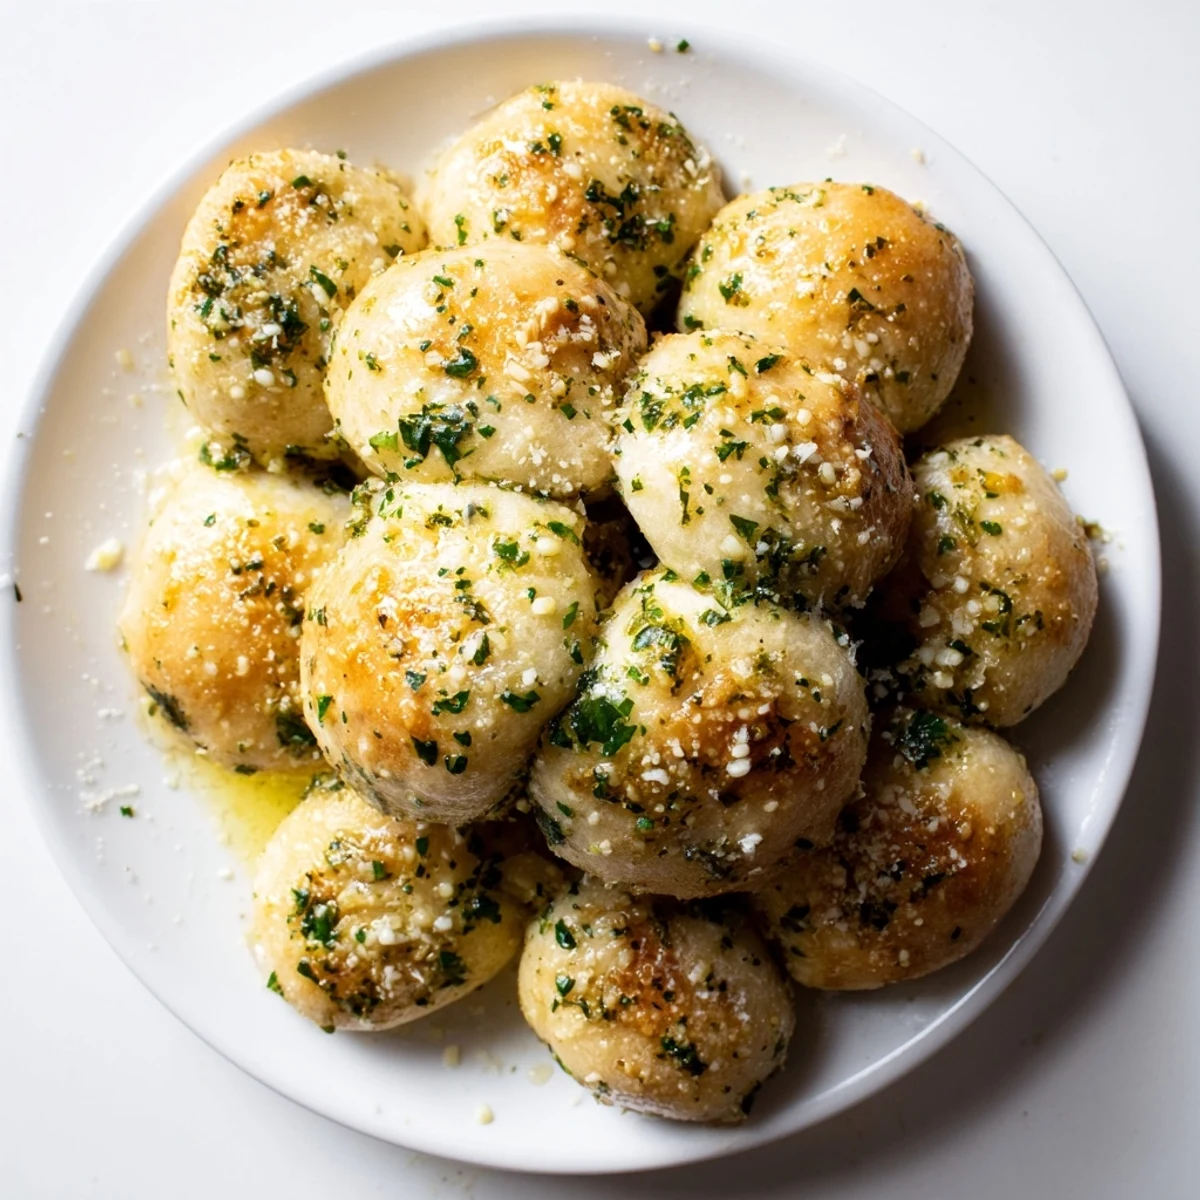
Save These soft garlic knots are made from pillowy, golden-baked dough brushed with a fragrant garlic butter blend. The dough is first allowed to rise for a full hour to develop a light, airy texture. After shaping into individual knots, they're baked until golden brown, then generously brushed with a mixture of melted butter, minced garlic, fresh parsley, and a hint of salt and pepper. Optionally, a sprinkle of Parmesan adds depth. Perfect paired with marinara sauce or served warm, these knots offer a delightful, savory accompaniment to any meal.
There's something magical about the moment a batch of garlic knots comes out of the oven—the kitchen fills with this warm, garlicky perfume that makes everyone stop what they're doing and wander toward the smell. I discovered these knots years ago at a neighborhood Italian place, and I became obsessed with recreating them at home. After a few attempts that were either too dense or too bland, I finally nailed the balance of a tender, pillowy dough with that unmistakable garlic butter coating that makes you want to eat all sixteen in one sitting.
I remember making these for my sister's book club one Thursday evening, and I completely underestimated how fast people would devour them. She pulled them from the oven while I was still brushing on the garlic butter, and within minutes the platter was wiped clean—someone even scraped off the parchment paper to get the last bits of garlic oil. That's when I knew this recipe had staying power.
Ingredients
- Active dry yeast (2¼ teaspoons): This is your leavening agent, so make sure it's fresh and your water is the right temperature—too hot and you'll kill it, too cool and it'll take forever to rise.
- Warm water (1 cup): Think bathwater temperature, around 110°F; use a thermometer if you're unsure because this makes a real difference in how quickly the dough rises.
- Sugar (2 teaspoons): This feeds the yeast and helps activate it, creating those beautiful air pockets that make the knots so soft.
- All-purpose flour (2½ cups): Don't pack it into your measuring cup or you'll end up with tough knots; spoon it in loosely and level it off.
- Salt (1 teaspoon for dough, ¼ for butter): Salt controls fermentation speed and flavors everything, so don't skip it or reduce it.
- Olive oil (2 tablespoons plus more for the bowl): This keeps the dough tender and gives it that slight richness you're after.
- Unsalted butter (¼ cup melted): Use good butter here because you'll really taste it; the flavor is the whole point of the garlic coating.
- Fresh garlic (3 cloves minced): Mince it finely so it distributes evenly and doesn't brown too much while baking.
- Fresh parsley (2 tablespoons chopped): The brightness of fresh parsley is what separates homemade from mediocre—don't use dried here.
- Black pepper (¼ teaspoon): Freshly ground pepper adds a gentle bite that keeps the garlic from being one-dimensional.
- Parmesan cheese (optional, 2 tablespoons): If you're adding it, use freshly grated; pre-grated cheese has additives that prevent it from melting smoothly.
Instructions
- Wake up the yeast:
- Combine your warm water, sugar, and yeast in a small bowl and let it sit for 5 to 10 minutes until it's foamy and alive—if it doesn't foam, your yeast is dead and you need to start over. This step takes just a few minutes but tells you everything about whether your dough will rise properly.
- Bring the dough together:
- Mix your flour and salt in a large bowl, then add the foamy yeast mixture and olive oil and stir until a shaggy dough forms. Don't overthink this stage; just get everything combined and moistened.
- Knead until silky:
- On a lightly floured surface, knead the dough for 6 to 8 minutes, working it with the heel of your hand in a rhythmic motion until it becomes smooth and elastic. You'll feel it transform under your hands from rough and sticky to something almost alive.
- Let it rise and breathe:
- Place your kneaded dough in a lightly oiled bowl, cover it with a clean towel, and set it in a warm spot (an off oven works great) until it doubles in size, about 1 hour. The warmth matters here—a cold kitchen will make this take forever.
- Shape the knots:
- After your oven is preheated to 400°F and your baking sheet is lined with parchment paper, punch down the dough and divide it into 16 equal pieces. Roll each piece into an 8-inch rope, tie it into a knot, and tuck the ends underneath so everything stays neat.
- Let them relax:
- Arrange your shaped knots on the baking sheet, cover them loosely, and let them rest for 10 to 15 minutes before baking. This short rest gives them a head start and ensures they rise evenly in the oven.
- Bake until golden:
- Bake for 12 to 15 minutes until the knots are golden brown and smell absolutely incredible. They'll still be a bit soft when hot, so don't judge their doneness by touch.
- Make the garlic coating:
- While the knots are baking, combine your melted butter, minced garlic, chopped parsley, salt, and pepper. If you want extra flavor, this is when you'd add a pinch of red pepper flakes.
- Finish and serve:
- As soon as the knots come out of the oven, brush them generously with the warm garlic butter mixture. Sprinkle with Parmesan if you like, and serve immediately while everything is still warm and fragrant.
 Save
Save One afternoon I had a friend stop by unexpectedly, and I threw together a batch of these while we caught up in the kitchen. By the time they came out of the oven, she was already sitting down with a cup of tea, and we spent the next hour talking and eating warm garlic knots like we were in some cozy Italian trattoria instead of my small apartment. That's when I realized these weren't just appetizers—they were an excuse to slow down and enjoy company.
Why These Knots Win Every Time
Garlic knots sit in that perfect sweet spot between pizza shop convenience and homemade pride. They're approachable enough for a beginner but impressive enough to make you feel like you've accomplished something real in the kitchen. The dough is forgiving, the shaping is almost meditative, and the payoff is immediate and delicious.
The Garlic Butter Game Changer
The magic really happens with the garlic butter—it's where the recipe transforms from basic bread to something your guests will ask about. The key is using fresh ingredients here; the garlic needs to be freshly minced and the parsley should smell bright and alive when you chop it. Don't let the butter cool down too much before brushing it on the hot knots, or it won't adhere properly and you'll lose all that garlicky flavor.
Making Them Your Own
Once you've made these once, you'll start seeing endless variations in your mind. Some nights you'll want them plain, other times you'll crank up the garlic or add a whisper of herbs. The beauty of this recipe is that it's a canvas—you can respect the base and still make it yours.
- For a quicker version, swap in store-bought pizza dough and just focus on the shaping and the garlic butter.
- Red pepper flakes, dried oregano, or a sprinkle of everything bagel seasoning all work beautifully mixed into the butter.
- Serve them alongside marinara for dipping, or enjoy them plain—they're good either way.
 Save
Save There's something special about pulling a tray of garlic knots from your own oven and watching people's faces light up at that first bite. These have a way of turning an ordinary evening into something worth remembering.
Recipe Questions & Answers
- → How do I achieve soft, pillowy knots?
-
Ensure the dough is kneaded until smooth and allowed to rise in a warm place until doubled in size. This process creates air pockets for softness.
- → Can I prepare the dough ahead of time?
-
Yes, the dough can be refrigerated after the initial rise. Let it come to room temperature before shaping and baking.
- → What is the best way to incorporate garlic flavor?
-
Brushing the baked knots with melted butter mixed with finely minced fresh garlic ensures a fragrant and rich garlic flavor.
- → Can I add cheese to the knots?
-
Yes, sprinkling grated Parmesan on the knots right after brushing them with garlic butter adds an extra layer of flavor.
- → How do I store leftover knots?
-
Store cooled knots in an airtight container at room temperature for up to two days or freeze for longer storage.