 Save
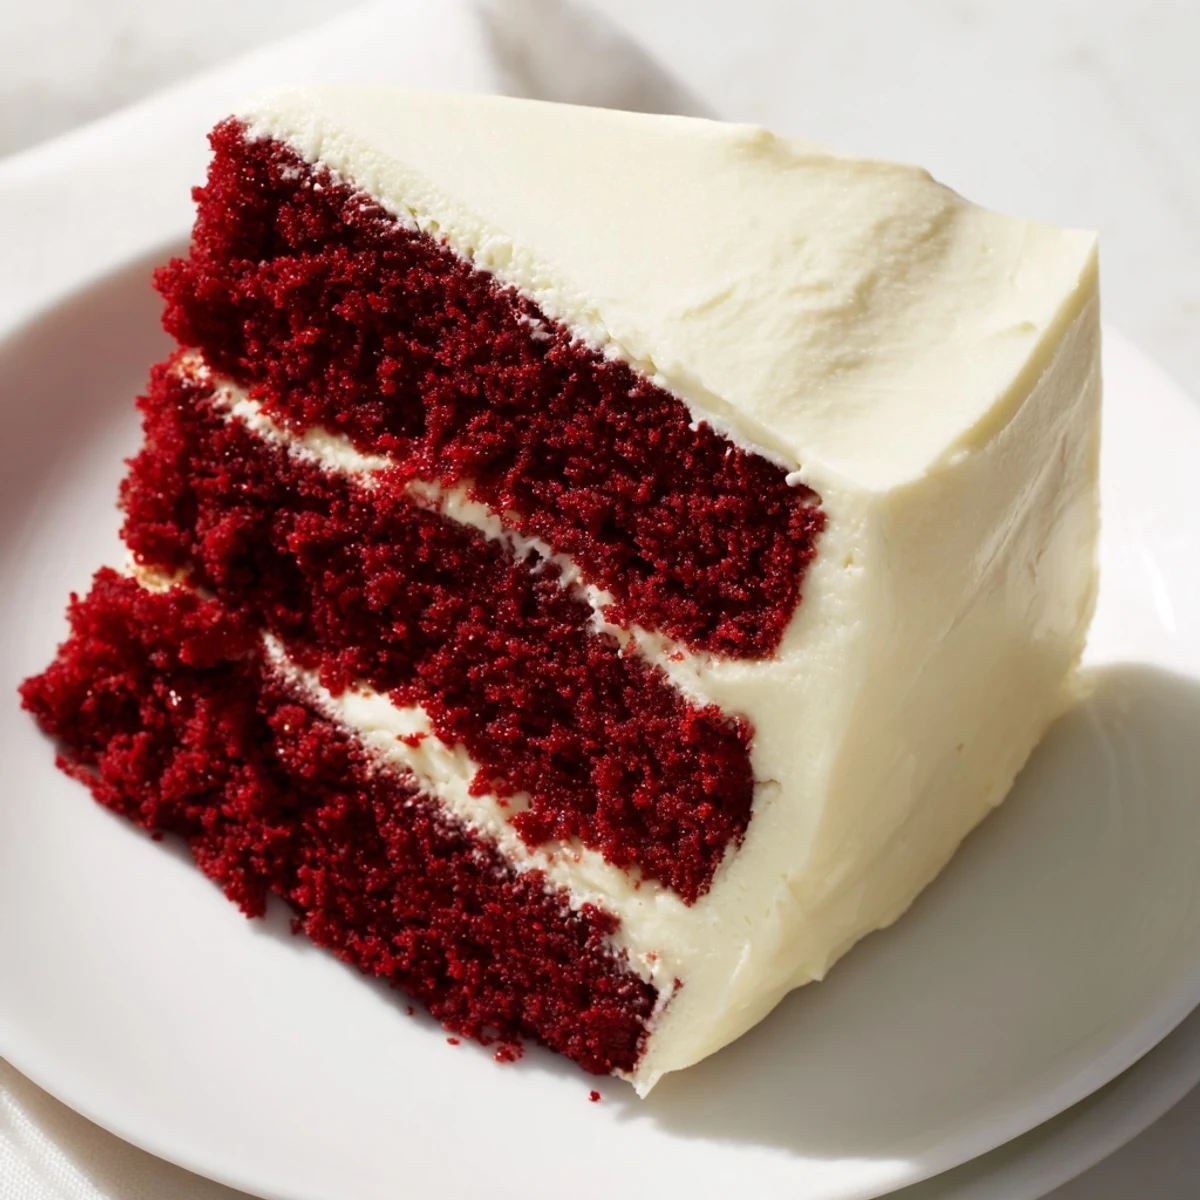
Save This red velvet layer cake is wonderfully moist, featuring vibrant layers enriched with cocoa and a hint of vanilla. The luscious cream cheese frosting adds a smooth, tangy balance that enhances the rich texture. Baking requires simple mixing steps and basic tools, resulting in a festive dessert that pairs beautifully with coffee or sparkling wine. Proper cooling and chilling ensure clean slices and lasting flavor.
The first red velvet cake I ever made turned out shockingly pink, like something out of a cartoon, because I got carried away with the food coloring. My roommate at the time just stared at it and asked if we were celebrating Barbie's birthday. We ate it anyway, laughing through every crumb, and that electric pink slice became the start of something beautiful.
I made this cake for my sister's graduation party last spring, and watching her face light up when she saw those stunning red layers against the white frosting was better than any gift I could have bought. Her friends kept asking where I ordered it from, which might be the highest compliment a home baker can receive.
Ingredients
- All-purpose flour: The backbone of your cake structure, measured carefully for consistent results
- Granulated sugar: Sweetness and tenderness, creamed properly to incorporate air
- Baking soda: The leavening agent that gives your cake its rise and tender crumb
- Fine salt: Enhances all the flavors and balances the sweetness
- Cocoa powder: Just enough to give depth without overpowering the delicate velvet flavor
- Vegetable oil: Keeps the cake incredibly moist, unlike butter which can firm up when cool
- Buttermilk: The acid activates the baking soda and adds a subtle tang that's classic red velvet
- Large eggs: Room temperature eggs emulsify better into your batter for even texture
- Red food coloring: The signature hue that makes this cake so striking and memorable
- Vanilla extract: Pure extract adds the warm aromatic background notes
- White vinegar: Another acidic ingredient that reacts with baking soda for extra lift
- Cream cheese: Use full fat and bring it to room temperature for silky smooth frosting
- Unsalted butter: Softened completely so it blends seamlessly with the cream cheese
- Powdered sugar: Sift it first to prevent any lumps in your frosting
Instructions
- Get your oven ready:
- Preheat to 350°F and grease those pans with butter, then line them with parchment circles for perfect release every time
- Whisk the dry ingredients:
- Combine the flour, sugar, baking soda, salt, and cocoa powder in a large bowl, breaking up any lumps
- Mix the wet ingredients:
- In a separate bowl, whisk together the oil, buttermilk, eggs, food coloring, vanilla, and vinegar until smooth
- Combine the batter:
- Pour the wet ingredients into the dry and fold gently until just combined, being careful not to overmix
- Bake the layers:
- Divide batter evenly between your prepared pans and bake 28 to 32 minutes until a toothpick comes out clean
- Cool completely:
- Let the cakes rest in their pans for 10 minutes before turning them out onto a wire rack to cool fully
- Make the frosting:
- Beat room temperature cream cheese and butter until completely smooth, then gradually add sifted powdered sugar, vanilla, and salt
- Frost your masterpiece:
- Place one cooled layer on your serving plate, spread with frosting, top with the second layer, and frost the top and sides
- Chill before serving:
- Refrigerate the finished cake for at least 30 minutes to set the frosting for clean, beautiful slices
 Save
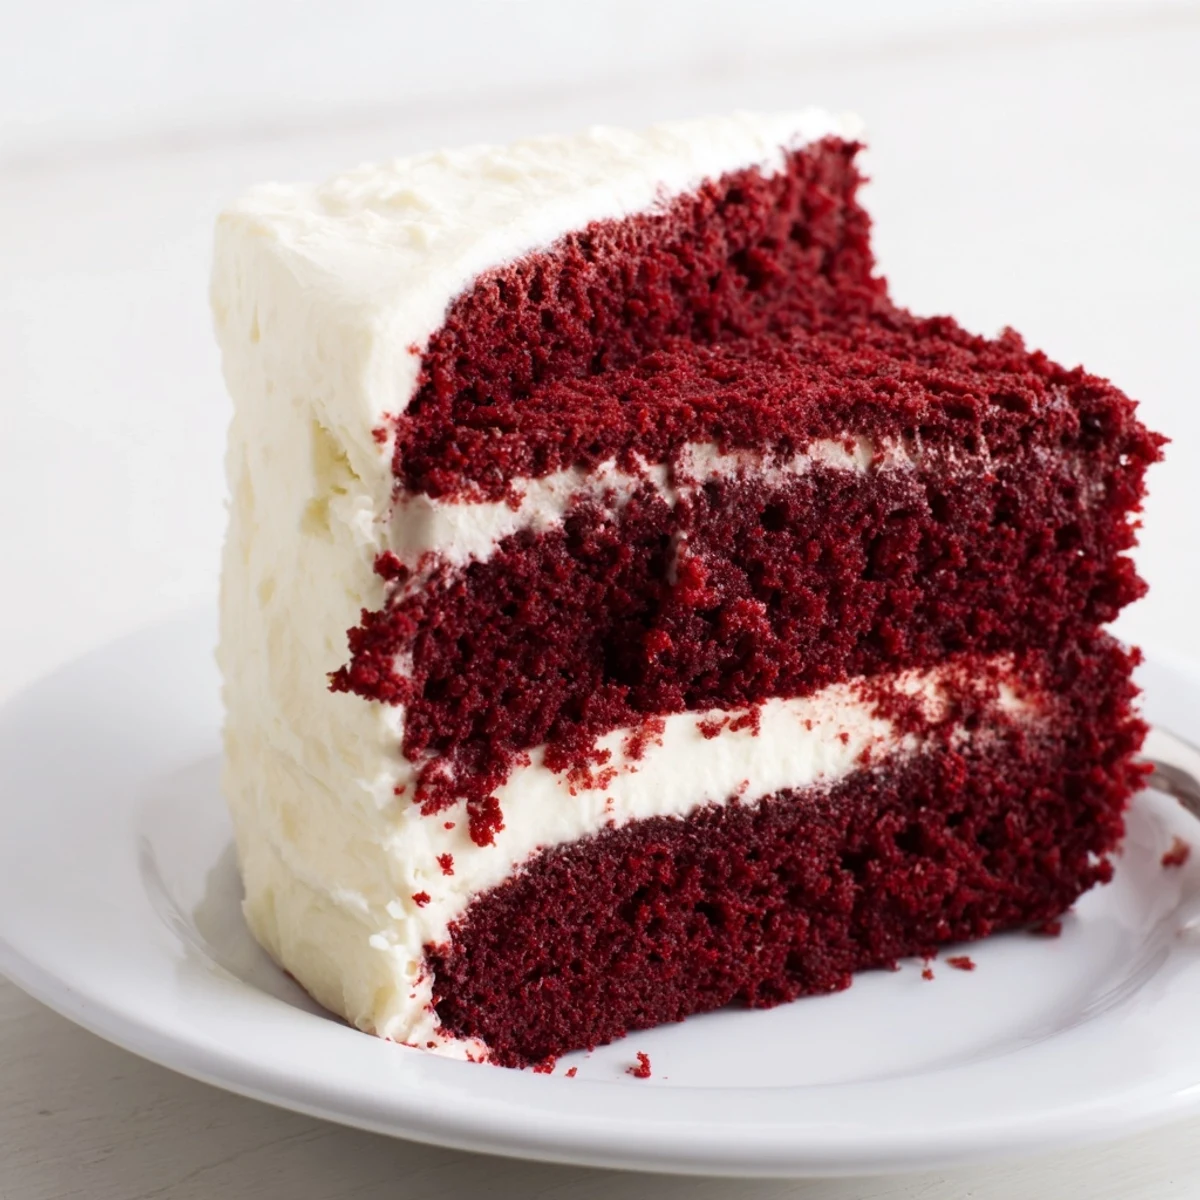
Save There's something magical about slicing into that red velvet cake and seeing those gorgeous layers against the snowy white frosting. It's the kind of dessert that makes any occasion feel like a celebration worth remembering.
Getting That Signature Color
The red color in traditional red velvet comes from the chemical reaction between acidic ingredients and cocoa powder, but modern recipes rely on food coloring to achieve that dramatic hue. Start with the suggested amount and add more drop by drop until you reach your desired shade.
Frosting Like a Pro
Apply a thin crumb coat first and refrigerate for 15 minutes before adding your final layer of frosting. This locks in any loose crumbs and gives you that pristine, professional-looking finish that makes people think you spent hours in the kitchen.
Making It Ahead
Red velvet cake actually tastes better the next day once the flavors have had time to meld and the frosting has set. You can bake the layers up to two days in advance, wrap them tightly in plastic, and frost the day you plan to serve.
- Store unfrosted layers at room temperature for one day or freeze for up to three months
- Keep the finished cake refrigerated and bring it to room temperature 30 minutes before serving
- The frosting firms up when chilled, so slice with a warm knife for clean cuts
 Save
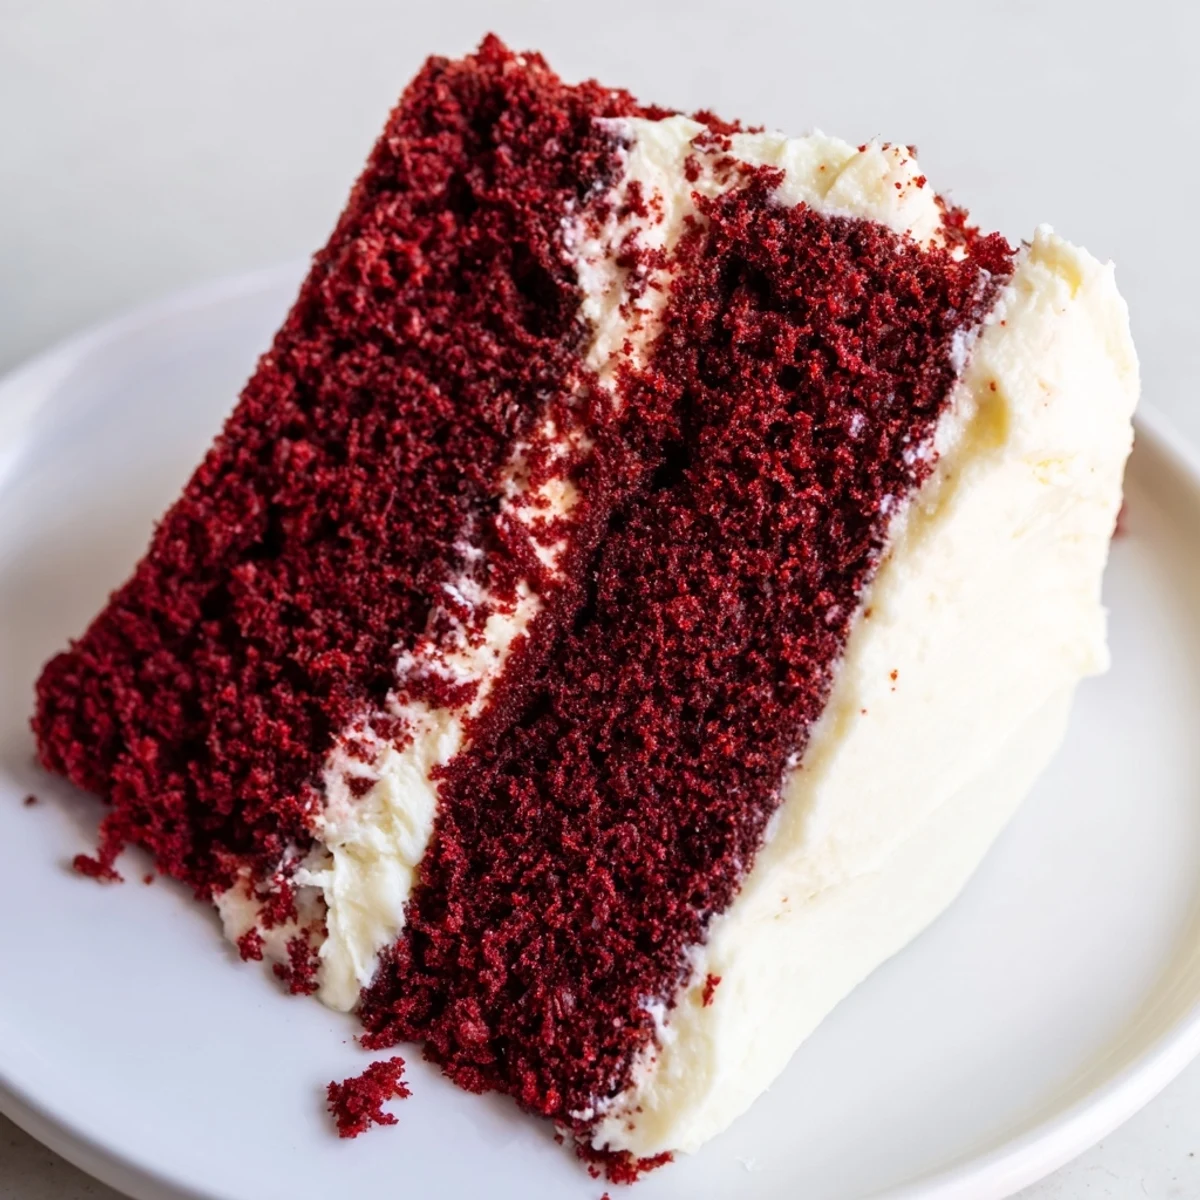
Save Every slice of this cake carries a little bit of celebration in it, no matter what day of the week it is. Share it with people you love, and watch how something as simple as dessert can turn an ordinary Tuesday into a memory.
Recipe Questions & Answers
- → What makes the red velvet cake moist?
-
The combination of buttermilk and vegetable oil adds moisture and tenderness to the layers, ensuring a soft crumb.
- → How is the cream cheese frosting prepared?
-
Beat softened cream cheese and butter until smooth, then gradually add sifted powdered sugar, vanilla, and a pinch of salt for a fluffy texture.
- → Can I add more cocoa powder for stronger flavor?
-
Yes, adding an extra tablespoon of cocoa powder deepens the chocolate notes without altering the texture significantly.
- → What’s the best way to ensure even baking?
-
Divide the batter evenly between two prepared pans and avoid overmixing to prevent dense layers.
- → How to achieve clean cake slices?
-
Chill the assembled cake for at least 30 minutes before slicing, which firms up the frosting and reduces crumbling.