 Save
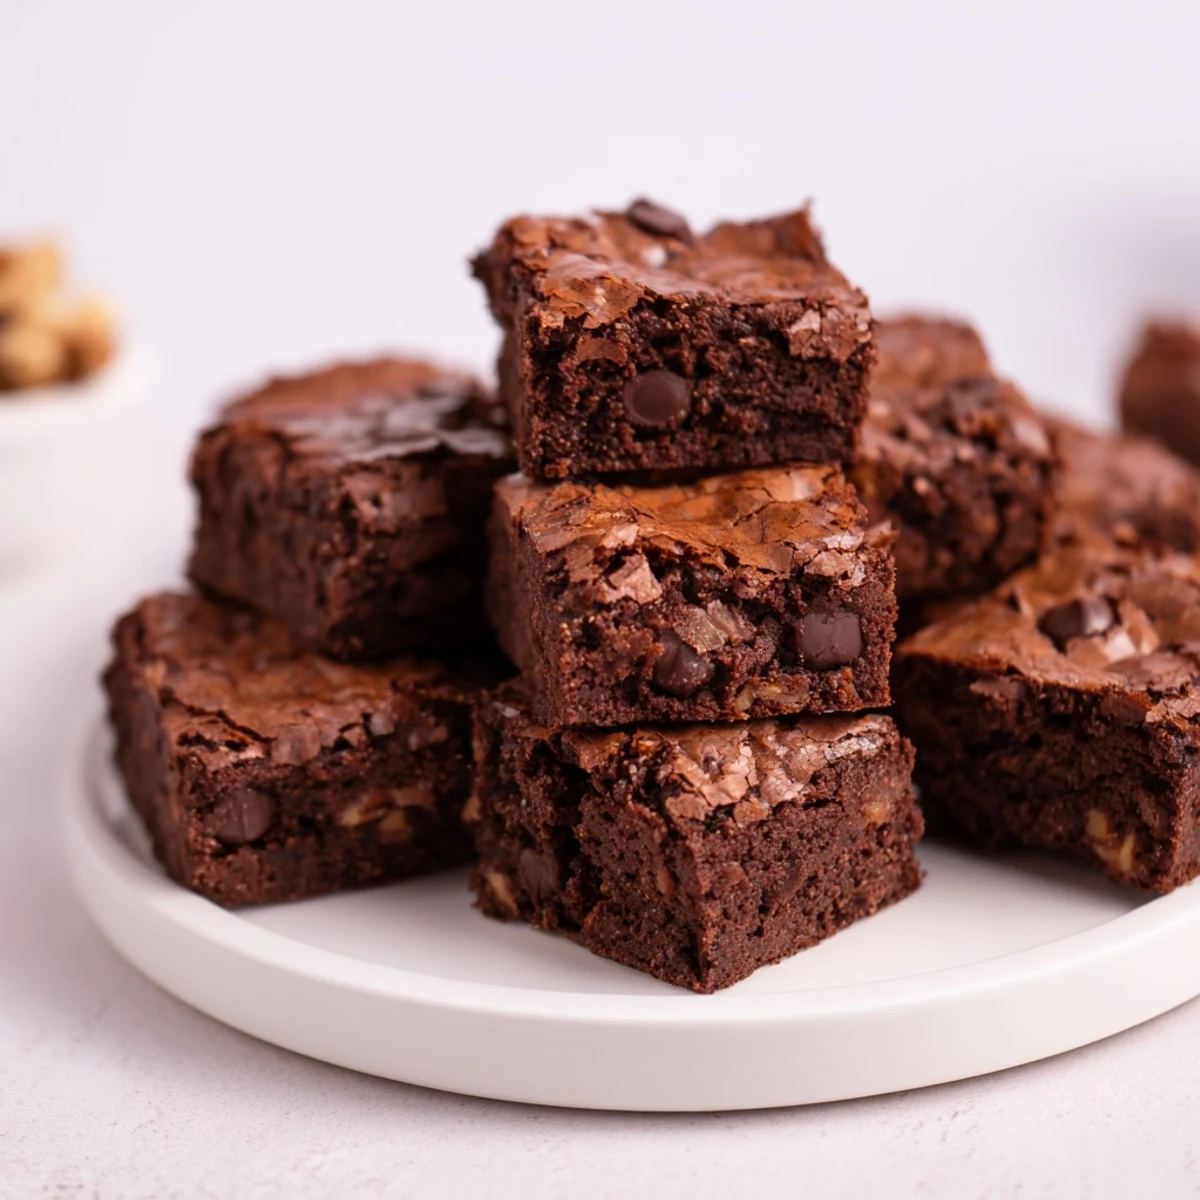
Save These brownie bites offer a rich, fudgy texture paired with a delicate crackly top. Using cocoa powder, melted butter, and vanilla, the batter yields 24 bite-sized treats perfect for sharing. Optional mini chocolate chips and nuts add extra flavor and texture. Baking them just right ensures moist, tender bites ideal for snacking or parties. Cool well before serving and consider a sprinkle of flaky sea salt for an elevated touch.
Quick to prepare and easy to bake, this straightforward method suits beginners and seasoned bakers alike. Store leftovers in an airtight container for freshness or freeze for longer storage.
There's something magical about tiny brownies—they hit different when you can eat three without guilt. I discovered brownie bites years ago at a friend's dinner party, and the moment I bit into one, I understood why she'd spent the evening making them instead of joining us on the porch. The combination of that crackly, thin top giving way to fudgy insides was exactly what I didn't know I needed.
I made these for a book club meeting last fall when I realized at 6 p.m. that I'd volunteered to bring dessert. The kitchen smelled like chocolate for hours afterward, and honestly, my neighbor asked if I was running a bakery. Watching everyone reach for seconds without hesitation—that's when I knew these would become a regular in my rotation.
Ingredients
- All-purpose flour (2/3 cup): This amount keeps things tender without making them cakey, which is the whole point.
- Unsweetened cocoa powder (1/2 cup): Don't skimp or use the sweetened kind—it's where your chocolate flavor lives.
- Baking powder (1/4 tsp): Just enough to give them that crackly top without making them rise too much.
- Salt (1/4 tsp): It sounds small but brings out the chocolate depth.
- Unsalted butter, melted (1/2 cup): Melting it first makes the batter silky and helps create that tender crumb.
- Granulated sugar (1 cup): Whisk it with the butter until it feels almost grainy—that's when the magic starts.
- Large eggs at room temperature (2): Cold eggs don't incorporate smoothly, so let them sit out while you preheat.
- Pure vanilla extract (1 tsp): It sounds subtle but rounds out the chocolate beautifully.
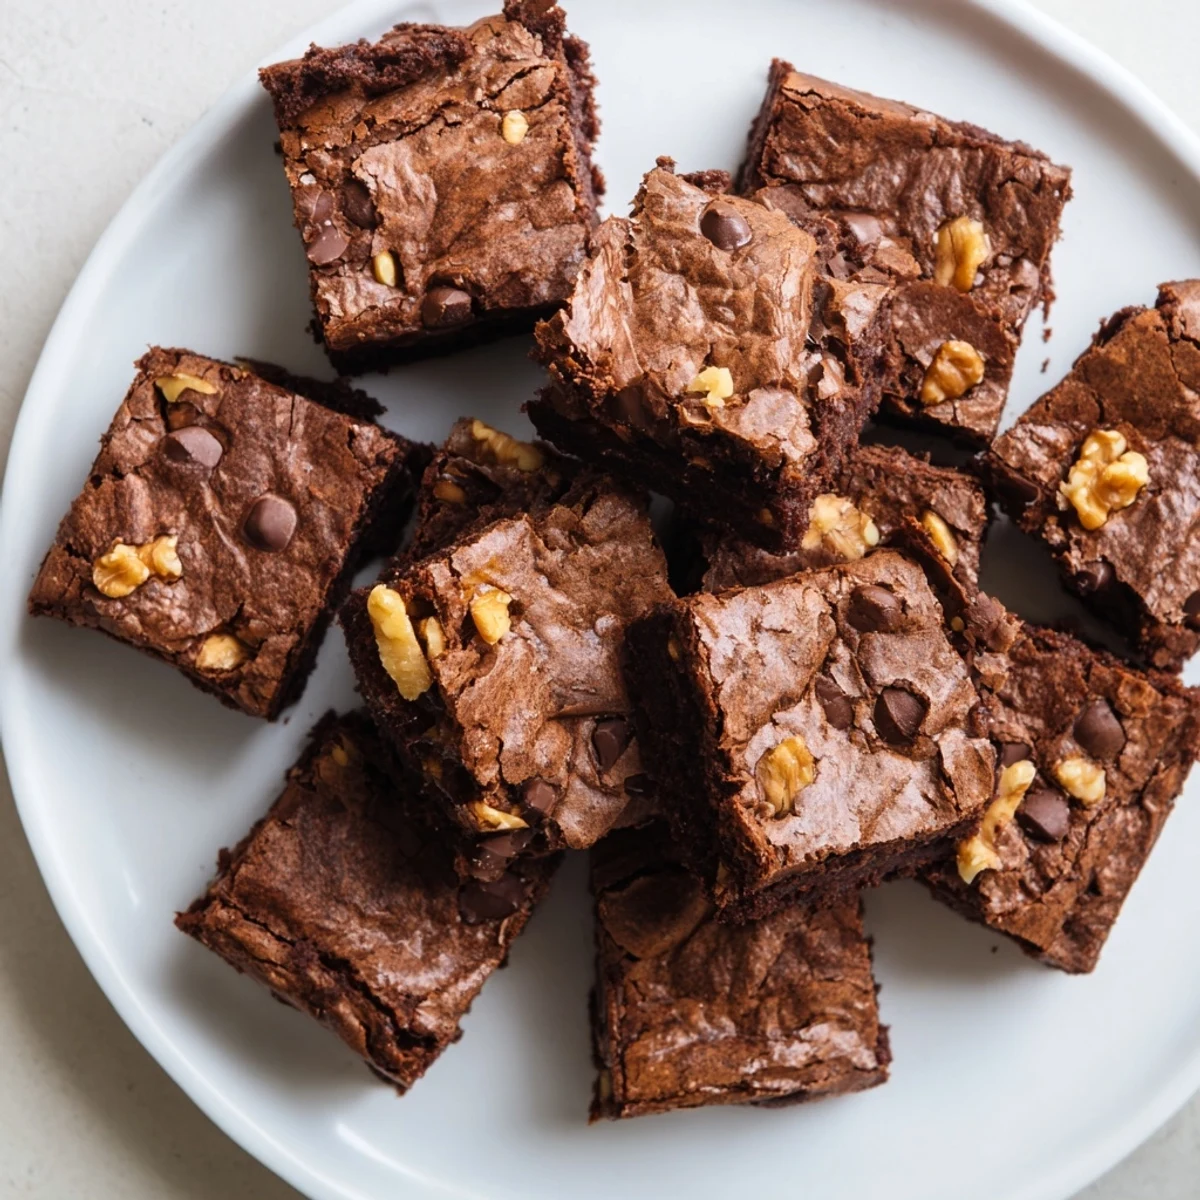
- Mini chocolate chips (1/2 cup, optional): These create little pockets of extra fudginess if you want them.
- Chopped walnuts or pecans (1/3 cup, optional): I skip them sometimes, but when I don't, the nuttiness adds something unexpected.
Instructions
- Prep your pan and heat:
- Preheat your oven to 350°F and get your 24-cup mini muffin pan ready with either a light greasing or paper liners. Cold pans mean uneven baking, so let the oven come all the way up.
- Make the dry mixture:
- In a medium bowl, whisk together the flour, cocoa powder, baking powder, and salt, making sure there are no lumps hiding in the cocoa. This step saves you from streaky bits in your brownies.
- Build the wet base:
- Pour your melted butter into a large bowl and add the sugar, then whisk for about a minute until it looks grainy and feels thick. Add the eggs one at a time, whisking after each, then the vanilla—you want everything to look smooth and glossy before you go further.
- Bring it together gently:
- Fold the dry mixture into the wet ingredients with a spatula, stirring just until you don't see flour streaks anymore. Overmixing creates tough brownies, so resist the urge.
- Add your mix-ins:
- Fold in the chocolate chips and nuts if you're using them, being gentle so you don't overwork the batter.
- Fill and bake:
- Spoon the batter into each cup until about three-quarters full—they'll puff slightly but won't overflow. Bake for 13 to 15 minutes until the tops look set and a toothpick pulled out has just a few moist crumbs clinging to it.
- Cool with patience:
- Let them rest in the pan for 5 minutes so they firm up enough to handle, then transfer to a rack to cool completely. They'll actually get fudgier as they cool, so waiting is worth it.
 Save
Save I once made a double batch and left half on the counter while I ran errands, and when I came back, they'd been claimed by my roommate's friends like tiny edible gold. There's something about brownie bites that brings people together—they're just the right size for sharing, or for not sharing if you're feeling protective.
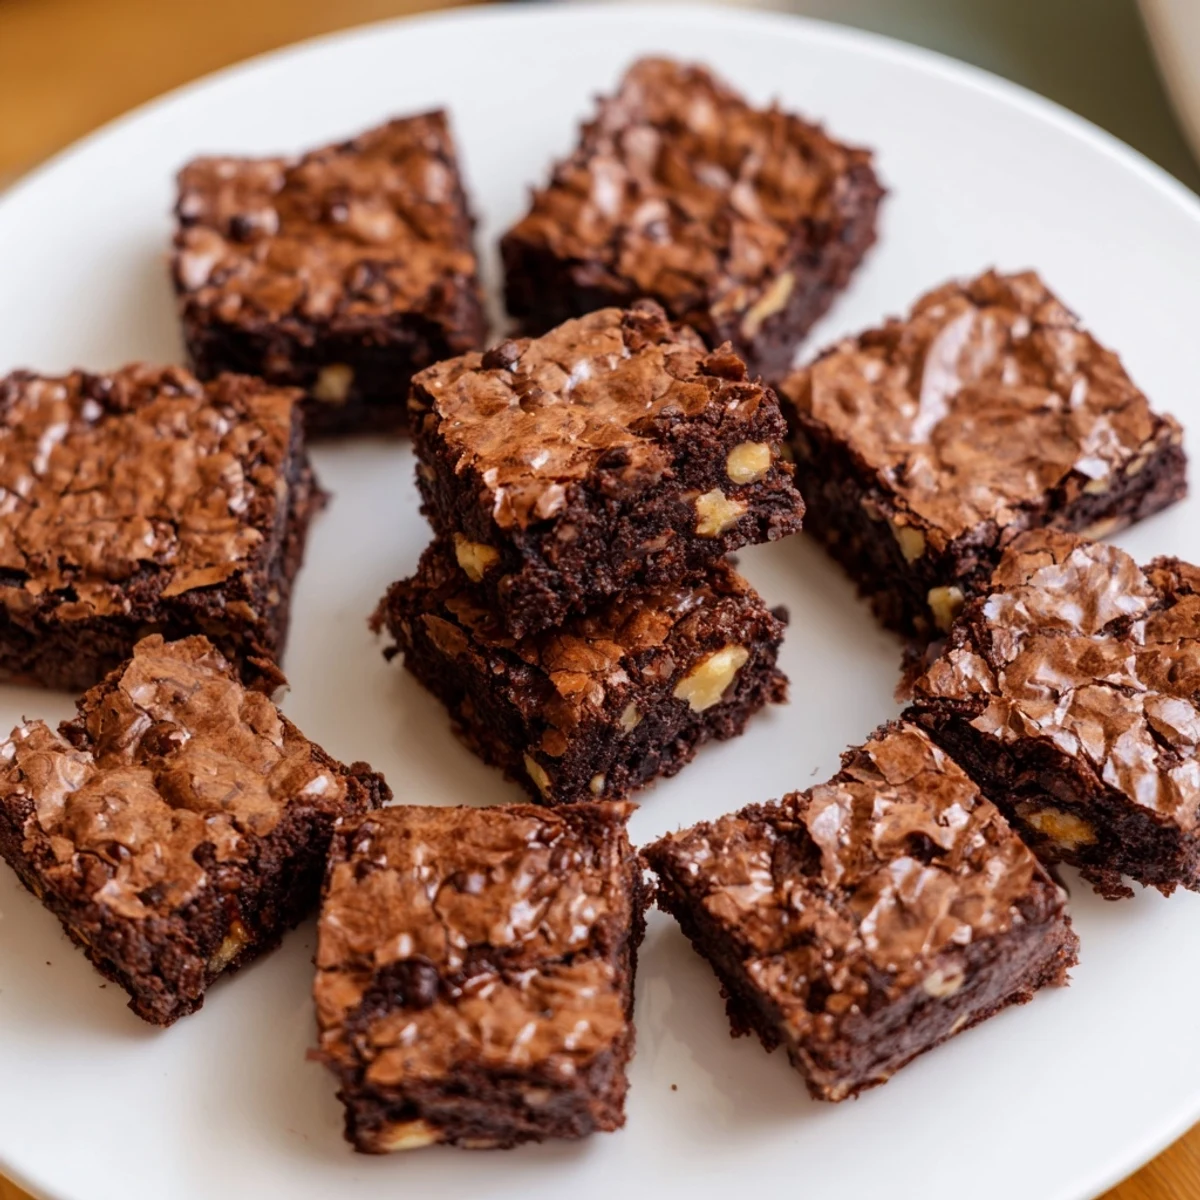
The Crackly Top Secret
That crackly surface everyone always asks about comes down to the sugar and eggs whipped together at the start. When you really whisk that butter and sugar until it's thick and grainy, you're aerating the batter just enough to create those delicate cracks when they bake. It's not about fancy technique—it's just giving the batter a moment to become something better than it started.
Storage and Make-Ahead Moves
These keep beautifully in an airtight container at room temperature for up to 4 days, which is longer than you'd think for something this fudgy. If you want to make them ahead, they freeze perfectly for up to a month, so you can bake them whenever the craving hits or you need something quick for unexpected guests.
Gourmet Touches That Matter
The notes on the original recipe mention sea salt, and honestly, a tiny pinch of flaky sea salt sprinkled on top before baking changes everything. It sounds pretentious, but it's not—it just makes the chocolate taste more like itself.
- A sprinkle of flaky sea salt on top before baking brings out the chocolate in a way that feels almost luxurious.
- If you're feeling it, a touch of espresso powder in the dry mix deepens the chocolate flavor without tasting like coffee.
- Let them cool completely before storing so condensation doesn't make them soggy.
 Save
Save Brownie bites taught me that sometimes the smallest versions of things hit the hardest. Make a batch and watch them disappear.
Recipe Questions & Answers
- → How can I make the brownie bites more fudgy?
-
Slightly underbaking the brownie bites helps retain moisture, resulting in a fudgier texture. Keep an eye on them near the end of baking time.
- → Can I add nuts to the brownie bites?
-
Yes, folding in chopped walnuts or pecans adds a delightful crunch. Be mindful of any nut allergies when serving.
- → What is the best way to cool these brownie bites?
-
Allow the bites to cool in the pan for about 5 minutes before transferring to a wire rack to cool completely for optimal texture.
- → Is it necessary to use mini muffin liners?
-
While liners make removal easier and cleanup simpler, greasing the mini muffin pan thoroughly is an effective alternative.
- → How long do the brownie bites stay fresh?
-
Stored at room temperature in an airtight container, they remain fresh for up to 4 days. You can also freeze them for up to 1 month.
- → Can I sprinkle sea salt on top before baking?
-
Absolutely! A light sprinkle of flaky sea salt before baking enhances the flavor profiles and adds a gourmet touch.