 Save
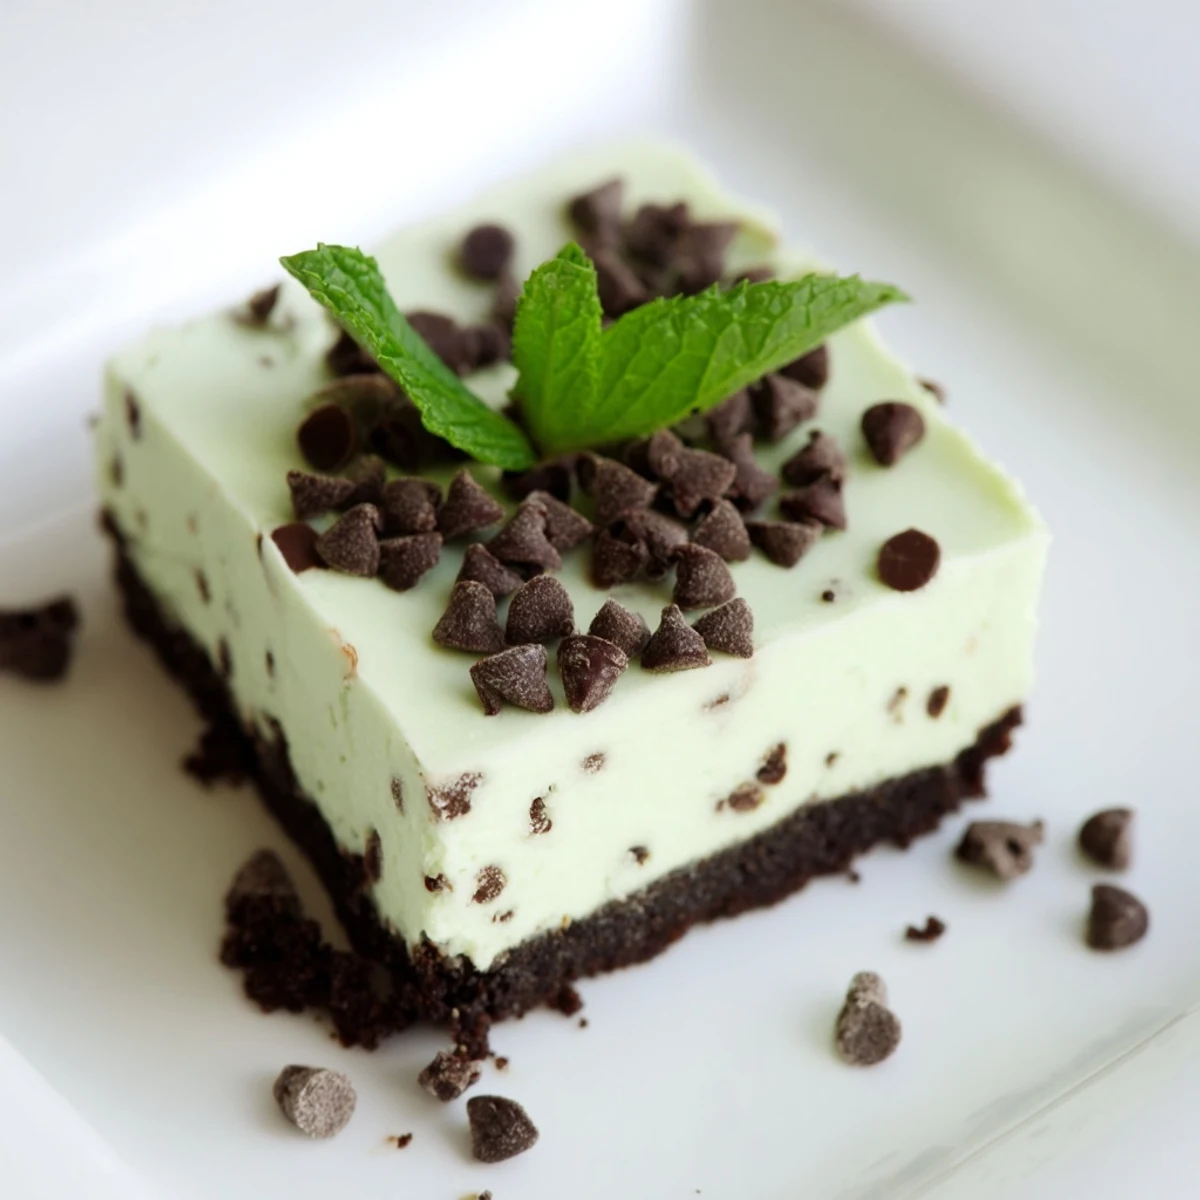
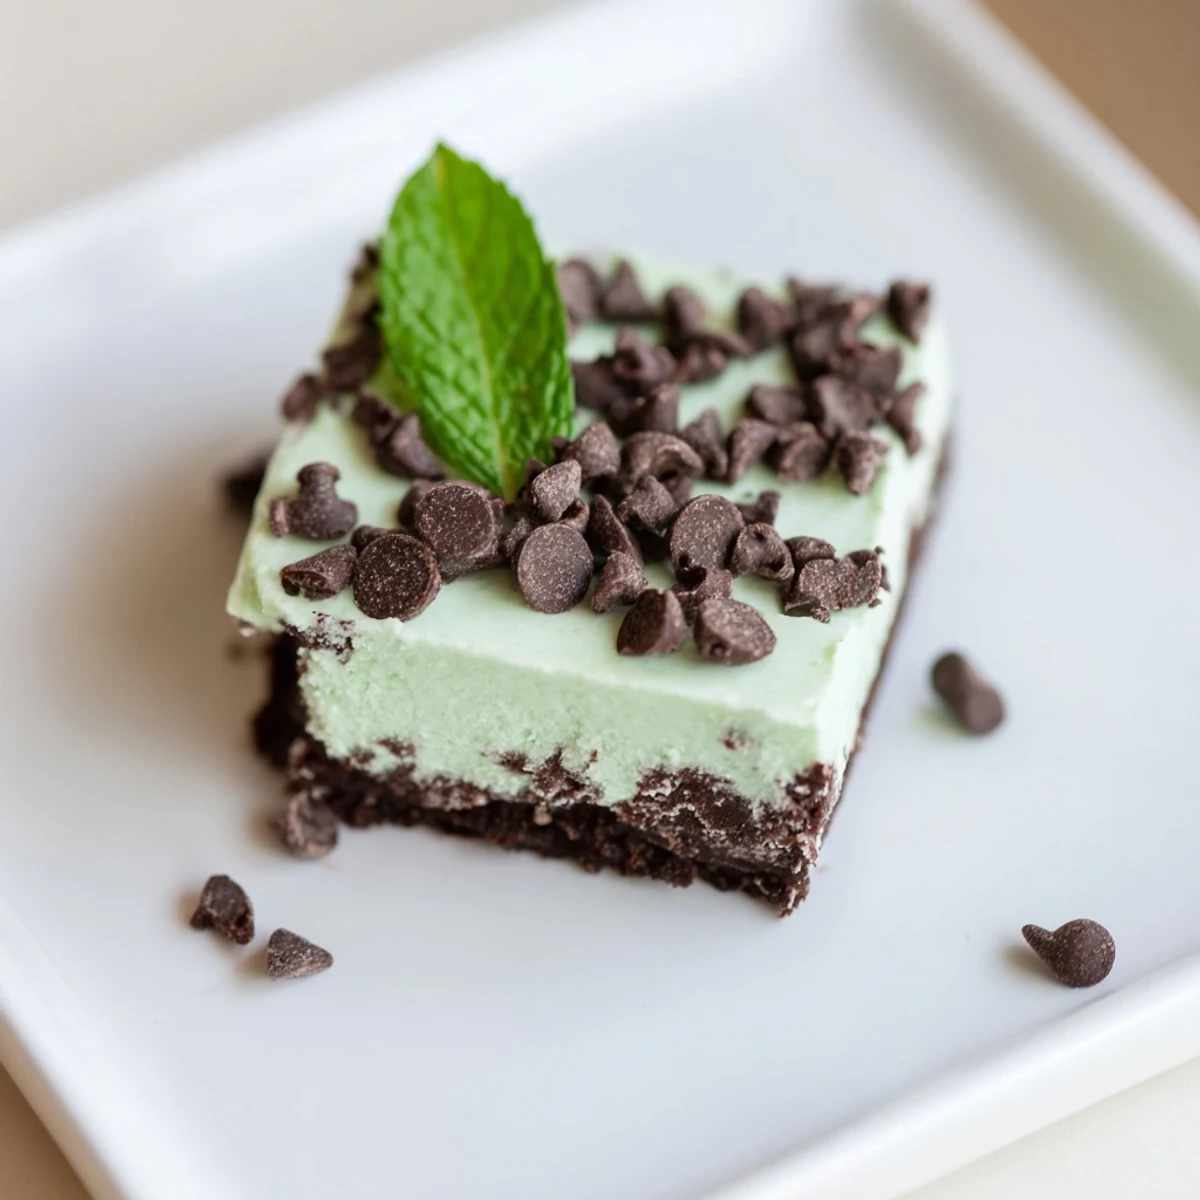
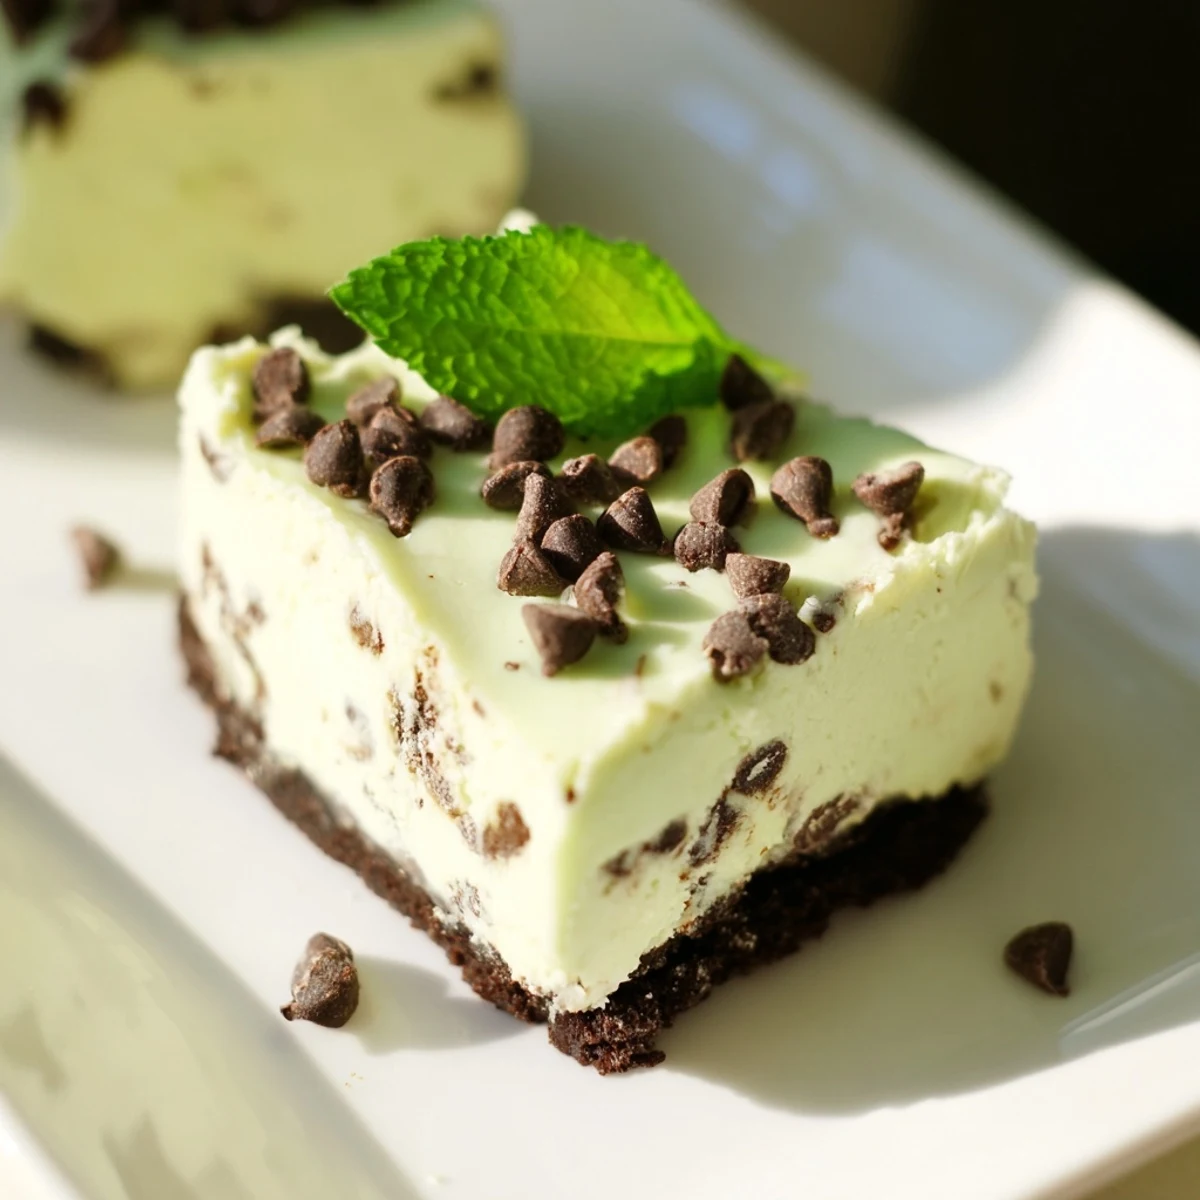
Save These bars combine a smooth, mint-infused cheesecake filling with a crunchy chocolate cookie base, sprinkled with mini chocolate chips for texture. Baked until just set and chilled thoroughly, they offer a balance of rich creaminess and refreshing peppermint notes. Perfectly portioned for easy sharing, these bars are a delightful indulgence with a subtle hint of mint and chocolate.
The first time I made these bars, my kitchen smelled like an ice cream parlor. That cooling mint hitting warm chocolate cookies feels like pure magic, especially on a hot July afternoon when the air conditioning can barely keep up. I'd been craving something refreshing but substantial, something that would disappear fast at a potluck but still feel special enough for a quiet Friday night at home.
I brought these to my sister's summer birthday party last year, and honestly, I thought 16 bars would be way too many. Within twenty minutes, people were hovering around the dessert table like sharks. My brother-in-law, who usually skips sweets altogether, cornered me in the kitchen to ask if there were any hidden in the refrigerator.
Ingredients
- Chocolate sandwich cookies: Oreos work perfectly here, but I've used store brands with equal success and nobody noticed the difference
- Unsalted butter: Melted completely so it coats every crumb, which prevents that sad dry crust situation
- Cream cheese: Full-fat is non-negotiable here, and leave it out for at least four hours or your filling will be lumpy
- Granulated sugar: Dissolves beautifully into the cream cheese, creating that silky professional texture
- Sour cream: This is the secret ingredient that adds tang and keeps the cheesecake from feeling too heavy
- Eggs: Room temperature eggs incorporate better and prevent weird curdling during mixing
- Peppermint extract: Start with half a teaspoon because this stuff is potent and you can always add more
- Vanilla extract: Rounds out the mint and makes it taste like a complete thought instead of just a gimmick
- Green food coloring: Totally optional but something about matching the color to the flavor makes people assume it tastes more minty
- Mini chocolate chips: Mini chips distribute evenly throughout the batter so every bite gets chocolate
Instructions
- Get your oven ready:
- Preheat to 160°C (325°F) and line a 23 cm square pan with parchment, letting the paper hang over the sides like little handles that will save your life later.
- Make the crust:
- Crush those chocolate sandwich cookies until they're fine crumbs, mix with melted butter until it feels like wet sand, then press firmly into your pan. Bake for 8 minutes and let it cool while you make the filling.
- Beat the base:
- In a large bowl, beat cream cheese and sugar until completely smooth with no lumps remaining. Add sour cream, eggs, peppermint and vanilla extracts, and food coloring if you're using it. Mix until everything's incorporated and the color is uniform throughout.
- Add the chips:
- Fold in the mini chocolate chips gently so you don't knock all the air out of the batter.
- Assemble and bake:
- Pour the filling over your cooled crust and smooth the top. Bake for 30 to 32 minutes until the center is just set and still slightly jiggly like gelatin when you gently shake the pan.
- The crucial chill time:
- Cool completely at room temperature, then refrigerate for at least 2 hours though overnight is even better for the cleanest cuts.
- Cut and serve:
- Use the parchment overhang to lift the whole thing out of the pan, then cut into 16 squares. Top with extra chips or fresh mint if you're feeling fancy.
 Save
Save These have become my go-to when someone says bring dessert but doesn't specify what. They're elegant enough for holidays but casual enough for Tuesday night TV watching, and somehow they manage to feel both sophisticated and completely approachable at the same time.
Making Them Your Own
Sometimes I'll swap in crushed chocolate graham crackers or even chocolate wafer cookies for the crust. Graham crackers give you a lighter, crunchier base that lets the mint really shine, while chocolate wafers make it intensely dark and fudgy. Both versions disappear just as fast.
Storage and Timing
These bars actually improve after a day in the refrigerator because the flavors have time to marry and the texture sets up perfectly. I've made them up to two days ahead and they were still incredible, though they rarely last longer than twenty-four hours in my house.
Serving Suggestions
A light dusting of cocoa powder over the top makes them look like they came from a bakery. I've also served them with a tiny drizzle of melted white chocolate for special occasions, and once I pressed whole mint leaves into the surface before chilling for a stunning pattern.
- Let them sit at room temperature for fifteen minutes before serving for the creamiest texture
- A dollop of unsweetened whipped cream cuts through the richness beautifully
- These pair surprisingly well with coffee, especially dark roast with chocolate notes
 Save
Save There's something about the contrast between cool mint and rich chocolate that just works, every single time. These bars have saved more last-minute dessert emergencies than I care to admit.
Recipe Questions & Answers
- → What kind of cookies are best for the crust?
-
Chocolate sandwich cookies like Oreos work well for a rich, chocolaty base. Alternatively, graham crackers can be used for a lighter crust.
- → How can I ensure the filling is smooth?
-
Make sure the cream cheese is fully softened before mixing. Beat it thoroughly with sugar until smooth before adding other ingredients.
- → Can I adjust the mint flavor intensity?
-
Peppermint extract is potent; start with the recommended amount and adjust to taste, but avoid exceeding 3/4 teaspoon to maintain balance.
- → How long should the bars be chilled?
-
Chill the bars for at least 2 hours to allow proper setting and enhance the refreshing mint flavor.
- → Are these bars suitable for vegetarians?
-
Yes, the ingredients used are vegetarian-friendly, including cream cheese, eggs, and butter.
- → Can I prepare these bars in advance?
-
They can be made a day ahead and stored in the refrigerator to maintain freshness and flavor.