 Save
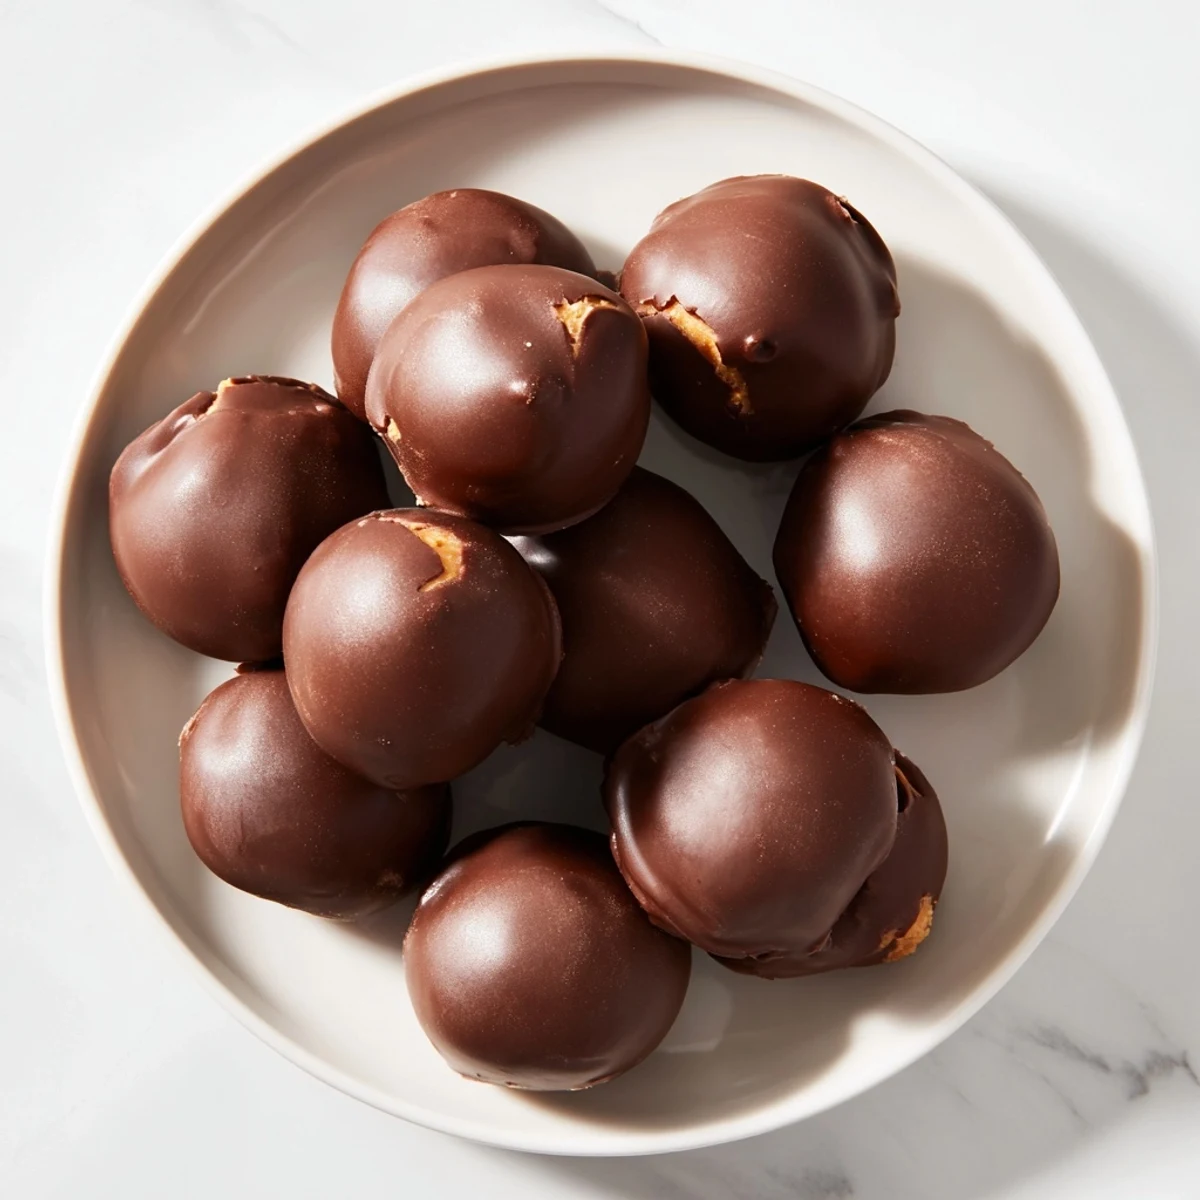
Save These creamy peanut butter balls are a simple no-bake treat combining peanut butter, butter, vanilla, and powdered sugar, rolled into bite-sized balls. They chill to firm up before being dipped in melted semi-sweet chocolate mixed with coconut oil. After coating, they chill again until the chocolate sets, creating a rich, smooth exterior around the soft center. Variations include folding in crushed graham crackers or using different chocolate types. Perfect for easy festive treats or anytime snacking.
My friend Sarah showed up at my door one December afternoon with a tin of homemade peanut butter balls, and I understood immediately why people make these every holiday season. They disappeared so fast I barely got to taste them, which sparked a mission: I needed to master this recipe myself. What started as a desperate attempt to recreate them turned into something I now make by the batch, partly because they're ridiculously easy, but mostly because watching someone's face light up when they bite into that creamy center is pure joy.
I made these for my office Secret Santa last year, and three people asked for the recipe before the tin was even empty. There's something about a homemade treat that feels personal without being fussy—it says you cared enough to make something, but you're not precious about it. That's when I realized these little balls are basically edible friendship.
Ingredients
- Peanut Butter: Use creamy (not chunky) for that smooth, melt-in-your-mouth center—this is non-negotiable.
- Softened Butter: This matters more than you'd think; cold butter won't blend smoothly and you'll end up with a gritty mixture.
- Powdered Sugar: Don't skip the sifting step if your sugar has lumps, or you'll end up with grainy balls instead of silky ones.
- Vanilla Extract: A half teaspoon is enough to add warmth without making them taste like a candle.
- Semi-Sweet Chocolate Chips: These balance the sweetness better than milk chocolate, though feel free to experiment once you've made them once.
- Coconut Oil or Shortening: This keeps the chocolate thin and glossy; without it, the coating cracks as it sets.
Instructions
- Mix the peanut butter base:
- Beat together peanut butter, softened butter, vanilla, and salt until everything is combined and creamy. This takes about two minutes with an electric mixer, but a sturdy spoon and some elbow grease works too.
- Add the powdered sugar:
- Gradually stir it in so it doesn't cloud up your kitchen like a flour bomb. Mix until the texture is thick and holds together when squeezed.
- Shape into balls:
- Roll the mixture into roughly 1-inch balls and place them on a parchment-lined baking sheet. If the mixture feels too soft, chill it for 10 minutes first.
- Freeze until firm:
- Pop the sheet in the freezer for 30 minutes—this is crucial because soft centers will fall apart when you dip them in chocolate.
- Melt the chocolate:
- Microwave chocolate chips and coconut oil in 30-second bursts, stirring between each one, until completely smooth and glossy. This slow approach prevents the chocolate from seizing and becoming grainy.
- Dip with intention:
- Using a fork or toothpick, quickly dip each frozen ball into the melted chocolate and let the excess drip off. Work fast but gently—you want a thin, even coating, not a thick shell.
- Set the chocolate:
- Return coated balls to the baking sheet and chill in the refrigerator for at least 15 minutes until the chocolate hardens completely.
 Save
Save My mom made these for every Christmas party when I was growing up, and I remember stealing them off the cooling racks when she wasn't looking. Now I realize she probably left them there on purpose, knowing exactly how many I'd take. Making them myself feels like I'm finally in on the secret.
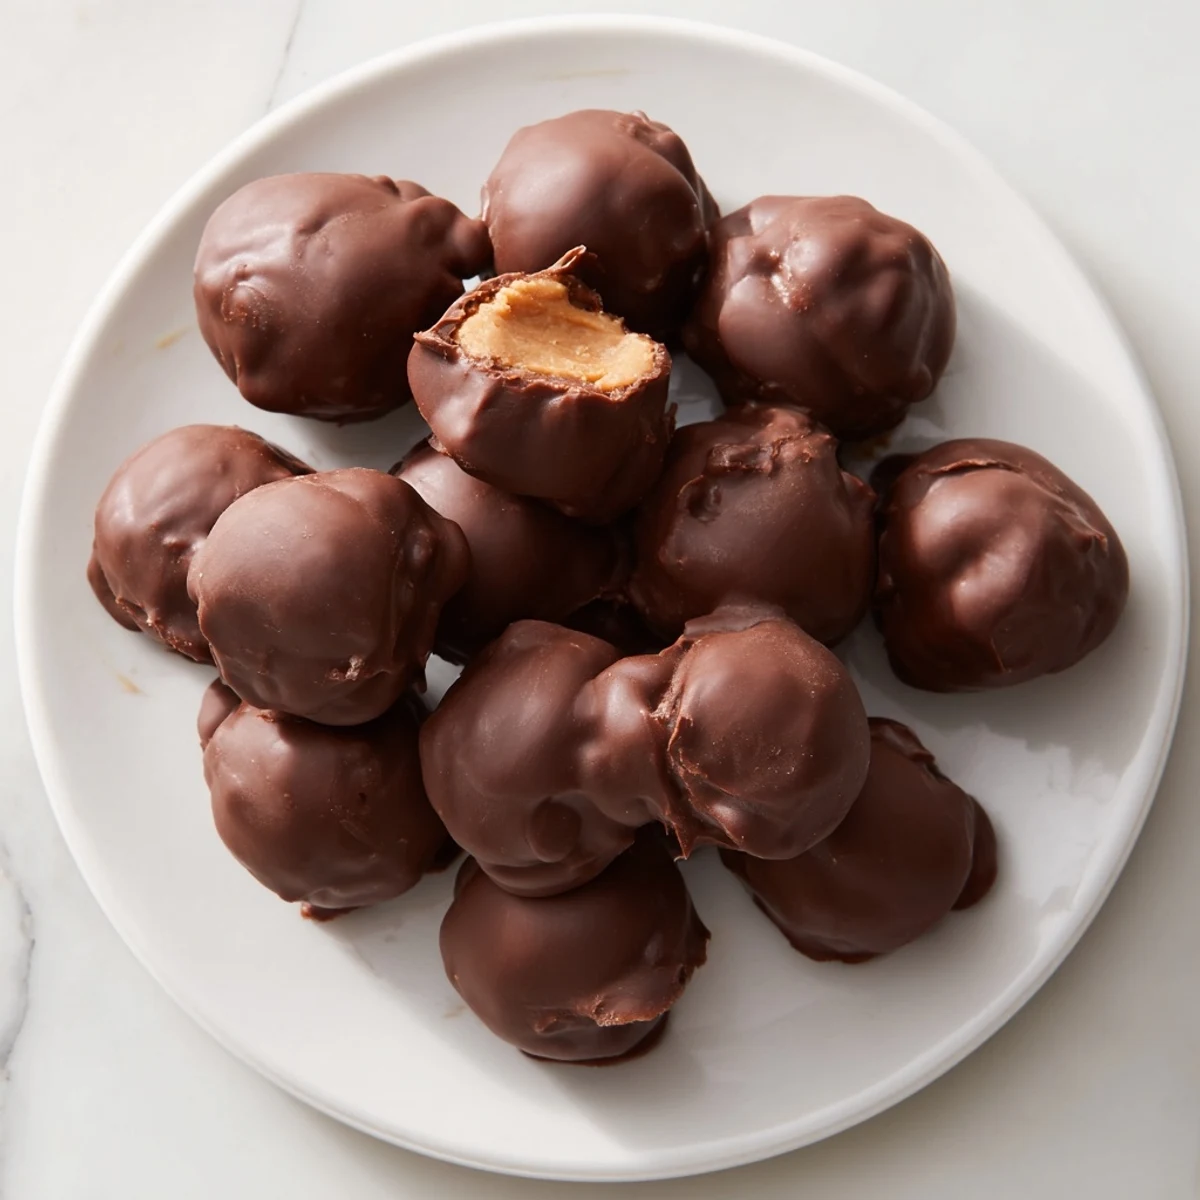
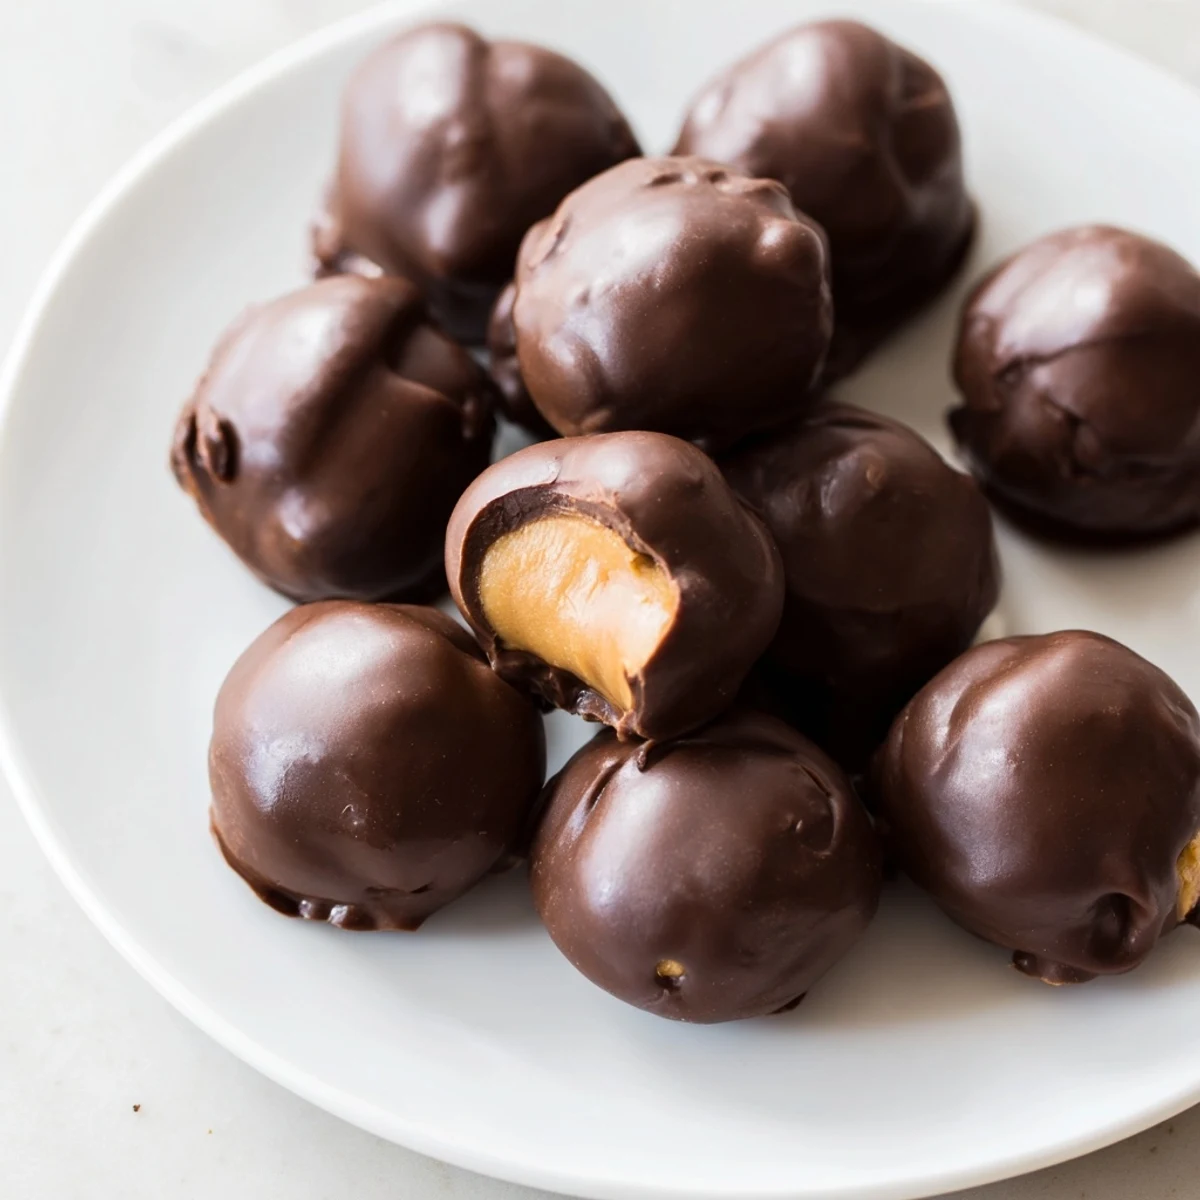
Texture is Everything
The magic of these balls lives in the contrast—a creamy, slightly dense center against a snappy chocolate shell. If your peanut butter mixture feels too soft, it means either your butter wasn't soft enough to start or you need to chill the shaped balls longer. The freezer is your friend here, not your enemy.
Customization Without Overthinking
Once you've made these once and nailed the basic technique, you can play around without fear. Some people fold in crushed graham crackers or rice cereal for a crunchier bite, which adds a pleasant texture surprise. Others swap milk chocolate for semi-sweet, or dark chocolate for a more sophisticated edge.
Storage and Gifting
These keep beautifully in the refrigerator for up to a week in an airtight container, which means you can make them ahead of parties or gifting occasions. They also travel well if you layer them between parchment paper, and honestly, showing up somewhere with homemade chocolate peanut butter balls is a power move.
- Make them two days before you need them so the chocolate coating becomes completely stable and less likely to smudge.
- If you're gifting them, stack them in a small box or tin lined with parchment—presentation matters almost as much as taste.
- Keep them in the fridge, not the counter; warm kitchens will cause the chocolate to bloom or the centers to soften.
 Save
Save These little balls have become my answer to almost every dessert situation, and they never disappoint. Once you've made them once, you'll understand why people keep coming back for more.
Recipe Questions & Answers
- → Can I use crunchy peanut butter instead?
-
Yes, crunchy peanut butter adds extra texture and a pleasant crunch to the balls.
- → How long should I chill the balls before dipping?
-
Freeze the peanut butter balls for at least 30 minutes to ensure they are firm enough for dipping.
- → What alternatives exist for coating the balls?
-
You can use dark, milk, or semi-sweet chocolate depending on your taste preference.
- → Can these treats be stored for later?
-
Store in an airtight container in the refrigerator for up to one week to maintain freshness.
- → Are these suitable for a vegetarian diet?
-
Yes, these contain no meat products and are suitable for vegetarians.