 Save
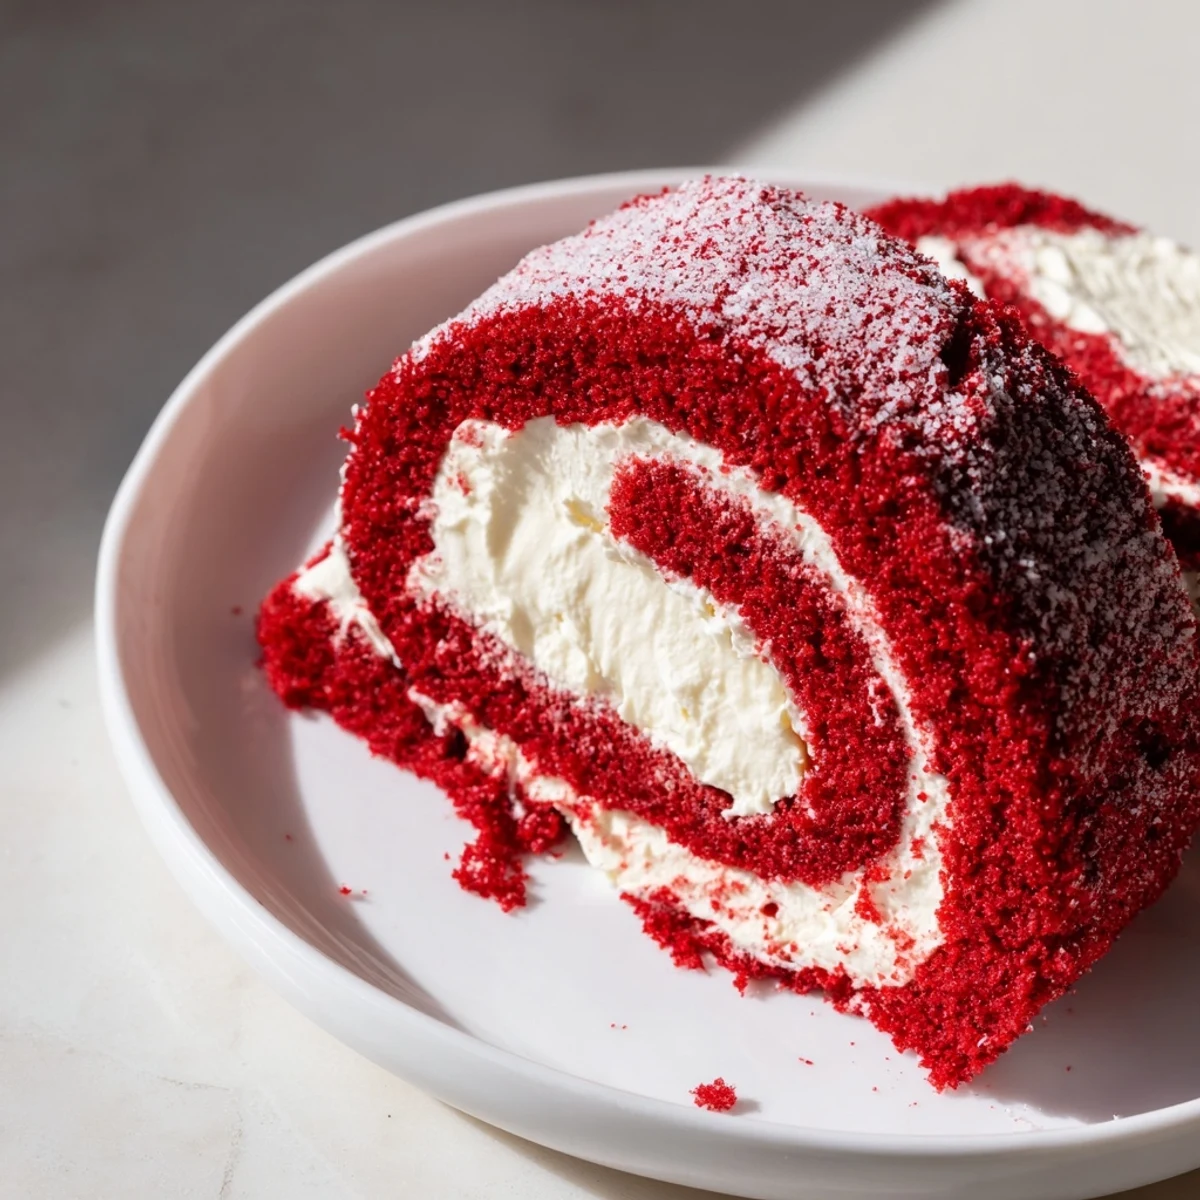
Save This festive dessert features a soft red velvet sponge, gently baked and rolled warm to prevent cracks. The luscious cream cheese filling combines smooth butter and powdered sugar with vanilla for a sweet balance. Chilling the roll after assembly enhances the texture and flavor. Dust with powdered sugar before slicing to complete the elegant look, making it ideal for special occasions and celebrations.
The first time I attempted a cake roll, I ended up with a beautiful but completely cracked sponge that looked more like a architectural collapse than a dessert. My grandmother stood in the kitchen doorway laughing, then walked over and showed me how the rolling towel technique works like magic. That red velvet roll we made together that afternoon became the benchmark for every celebration cake since. There's something genuinely thrilling about slicing into that spiraled beauty and seeing the perfect cream cheese swirl.
I brought this cake roll to my friend's winter wedding last year, and the bride actually gasped when she saw it on the dessert table. Her grandmother had made red velvet cakes for every family occasion, and seeing this elegant rolled version made her tear up with happy memories. Now it's my go to for moments that call for something both nostalgic and show stopping. The way the red velvet spirals around that creamy filling never fails to make people lean in closer.
Ingredients
- 3/4 cup all-purpose flour: The structure builder here, sift it well to avoid any lumps in your tender sponge
- 1/4 cup unsweetened cocoa powder: Use a good quality cocoa for that subtle chocolate depth that makes red velvet so distinctive
- 1 teaspoon baking powder: Gives the sponge just enough lift to roll without cracking
- 4 large eggs room temperature: Room temp eggs whip up beautifully and create that airy texture we need
- 3/4 cup granulated sugar: Sweetens the sponge while helping stabilize those beaten eggs
- 2 tablespoons vegetable oil: Keeps the sponge moist and pliable for rolling
- 1 tablespoon buttermilk: Adds a subtle tang that enhances the cocoa and creates a tender crumb
- 1 teaspoon vanilla extract: Pure vanilla makes everything taste better, do not skimp here
- 1 teaspoon distilled white vinegar: Reacts with the cocoa to enhance that classic red velvet flavor and reddish hue
- 1 tablespoon red food coloring: Go for gel coloring for a deeper red without adding too much liquid
- 8 oz cream cheese softened: Full fat cream cheese gives the filling its luxurious texture and tangy richness
- 4 tablespoons unsalted butter softened: Butter helps the filling hold its shape while adding creaminess
- 1 cup powdered sugar sifted: Sifting prevents lumps and ensures smooth silky filling
Instructions
- Prep your station like a pro:
- Preheat oven to 350°F and line a 10x15 inch jelly roll pan with parchment paper. Lightly grease the paper so the cake releases easily later.
- Whip the eggs until fluffy:
- Beat eggs on high speed for 5 minutes until they are thick and pale yellow, creating the airy base for your sponge.
- Add sweetness gradually:
- Slowly pour in granulated sugar while beating, letting it dissolve completely into the egg mixture.
- Flavor the batter:
- Mix in oil, buttermilk, vanilla, vinegar, and red food coloring until combined, then gently fold in dry ingredients.
- Bake to perfection:
- Spread batter evenly and bake for 12 to 15 minutes until the cake springs back when touched gently in the center.
- The crucial rolling step:
- Dust a kitchen towel generously with powdered sugar, invert the warm cake onto it, and roll tightly while still warm.
- Make the creamy filling:
- Beat softened cream cheese and butter until smooth, then add powdered sugar and vanilla until fluffy and spreadable.
- Fill and re-roll:
- Carefully unroll the cooled cake, spread filling evenly, and gently roll back up without the towel. Chill for at least 1 hour before serving.
 Save
Save My sister-in-law requested this for her birthday after seeing it on my Instagram stories, and watching her face light up when I sliced it at the dinner table was absolutely worth every careful roll. There's something about that red and cream spiral that feels like celebration in cake form. Now whenever I see that distinctive roll on a dessert buffet, I remember learning to trust the process and embrace a few kitchen cracks along the way.
Making It Ahead
This cake roll actually improves after chilling in the refrigerator overnight, which makes it perfect for dinner party planning. The flavors meld together beautifully and the filling firms up just enough for cleaner slicing. You can also freeze the unfilled sponge wrapped tightly in plastic for up to a month, then thaw and fill when you are ready to serve.
Getting That Perfect Roll
The key is timing your roll while the cake is still warm but not hot to touch. Practice your rolling motion with the towel first before attempting it with the actual cake. If small cracks do form during the unrolling step, do not panic, the filling will hide most imperfections and a dusting of powdered sugar covers a multitude of kitchen sins.
Serving Suggestions
Slice this cake roll with a sharp knife dipped in hot water and wiped clean between cuts for those picture perfect spirals. A light dusting of powdered sugar right before serving adds that professional bakery finish.
- Add fresh raspberries or strawberries alongside for color contrast and tart freshness
- Drizzle with melted white chocolate for an extra touch of elegance
- Serve slightly chilled for the best texture and easiest slicing
 Save
Save Every time I serve this cake roll, someone asks for the recipe, and I always smile remembering my first cracked attempt and how far we have both come. Happy baking and may your rolls always crack free.
Recipe Questions & Answers
- → How do I prevent the cake from cracking when rolling?
-
Roll the cake while it is still warm and pliable, using a lightly sugared kitchen towel to help maintain elasticity and prevent cracks.
- → What is the best way to achieve a tender sponge?
-
Beat the eggs until thick and pale, then gently fold in sifted dry ingredients to avoid overmixing, ensuring a tender and airy sponge.
- → Can I add flavor variations to the filling?
-
Yes, mini chocolate chips or fresh berries can be added to the filling for a different texture and flavor profile.
- → How long should the roll chill before serving?
-
Chill the roll for at least 1 hour to allow the filling to set and the flavors to meld together.
- → What tools are recommended for assembling the roll?
-
Use an electric mixer for the filling, a jelly roll pan for baking, parchment paper for easy removal, and a clean kitchen towel dusted with powdered sugar for rolling.