 Save
Save Preheat oven to 200°C/400°F. Sauté diced onion and garlic until soft, then mix with ground chicken, chopped sage, thyme, salt, pepper, breadcrumbs and a beaten egg. Shape into tablespoon-sized balls, brush with olive oil and bake 20–25 minutes, turning once, until golden and 74°C/165°F inside. Use gluten‑free crumbs if needed and serve hot with a dip or roasted vegetables.
The sound of onions sizzling in olive oil never fails to make the whole kitchen feel welcoming. The first time I tried making Sage Onion Chicken Balls, it was less about following a recipe and more about chasing the herby scent that drifted all the way into the hallway. Herbs and mingling sweet onions signaled something comforting on its way, and my curiosity about turning humble ground chicken into something memorable filled the room.
Once I made a batch of these chicken balls for a casual Saturday lunch with a friend, and we ended up hovering over the tray before it had even cooled. Dipping them, snacking mid-conversation, we barely realized how quickly we'd polished them off, and they turned into a kind of tradition whenever someone needed cheering up.
Ingredients
- Ground chicken (thigh meat): Using thigh instead of breast keeps the balls moist and flavorful — if you have a butcher, ask for a coarser grind for a rustic texture.
- Onion: Sautéing the onion mellows its bite and brings out a subtle sweetness that lingers in every bite.
- Garlic: Fresh garlic, minced finely, brings warmth and rounds out the aromatic base.
- Fresh sage: Sage is what gives these a cozy, distinctly British countryside flavor — fresh works best but dried can pinch-hit in a hurry.
- Salt & black pepper: Season well so each ball tastes seasoned all the way through.
- Dried thyme: A touch of thyme adds an earthy undertone that pairs gently with the sage.
- Nutmeg (optional): Just a little lifts the flavors, especially if you want a whisper of old-school Sunday roast.
- Breadcrumbs: The binder that quietly holds everything together without drying out the mix — gluten-free works too.
- Large egg: Binding and adding a bit of lightness, just enough to keep things from crumbling.
- Olive oil: For sautéing the onion and getting that golden finish in the oven — generous brushing means more crispy edges.
Instructions
- Get your oven ready:
- Heat oven to 200°C (400°F) and cover your tray with parchment or give it a thin slick of oil so nothing sticks.
- Sauté the aromatics:
- Warm 1 tbsp olive oil in a skillet, then let diced onions sizzle for a few minutes until translucent; stir in garlic and breathe in — you’ll know when it’s ready because it smells irresistible. Let the mixture cool so it doesn’t scramble your egg later.
- Mix it all together:
- In your biggest bowl, combine chicken, the fragrant onion-garlic, sage, thyme, salt, pepper, and a tentative touch of nutmeg if you’re feeling bold.
- Add binders:
- Tip in breadcrumbs and the beaten egg; using your hands or a spatula, mix only until it just comes together — trust me, overmixing makes things tough.
- Form the balls:
- Dampen your hands to keep the mixture from sticking, then shape mounds (about 1 heaping tablespoon each) and line them up on your tray like little soldiers.
- Olive oil finish:
- Brush or drizzle the tops with the remaining olive oil so you get a cheerful golden crust when they bake.
- Bake to golden perfection:
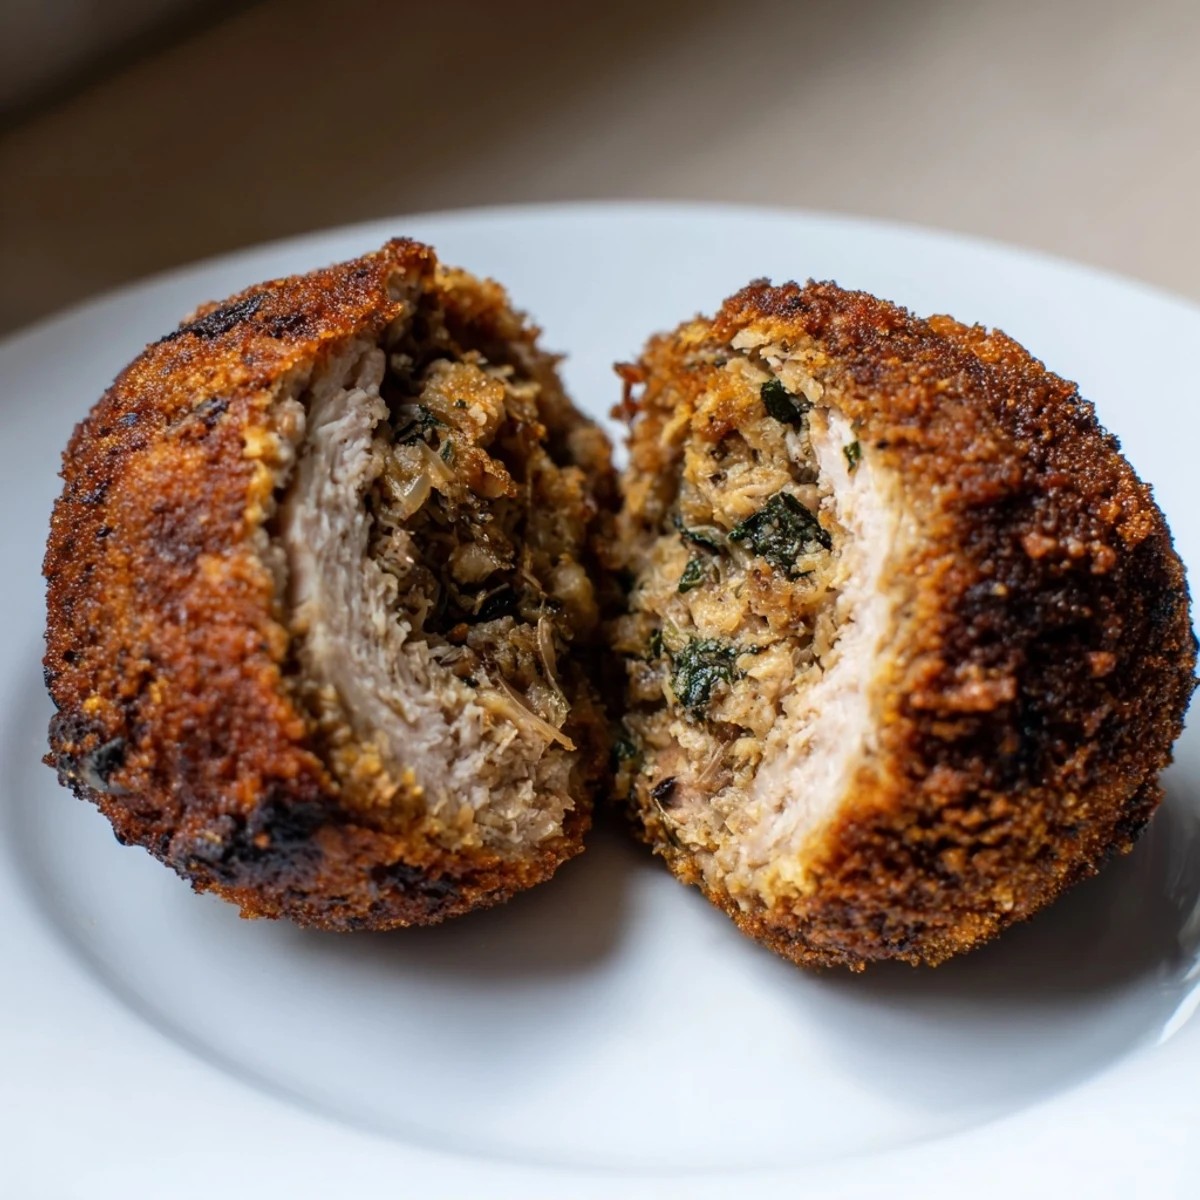
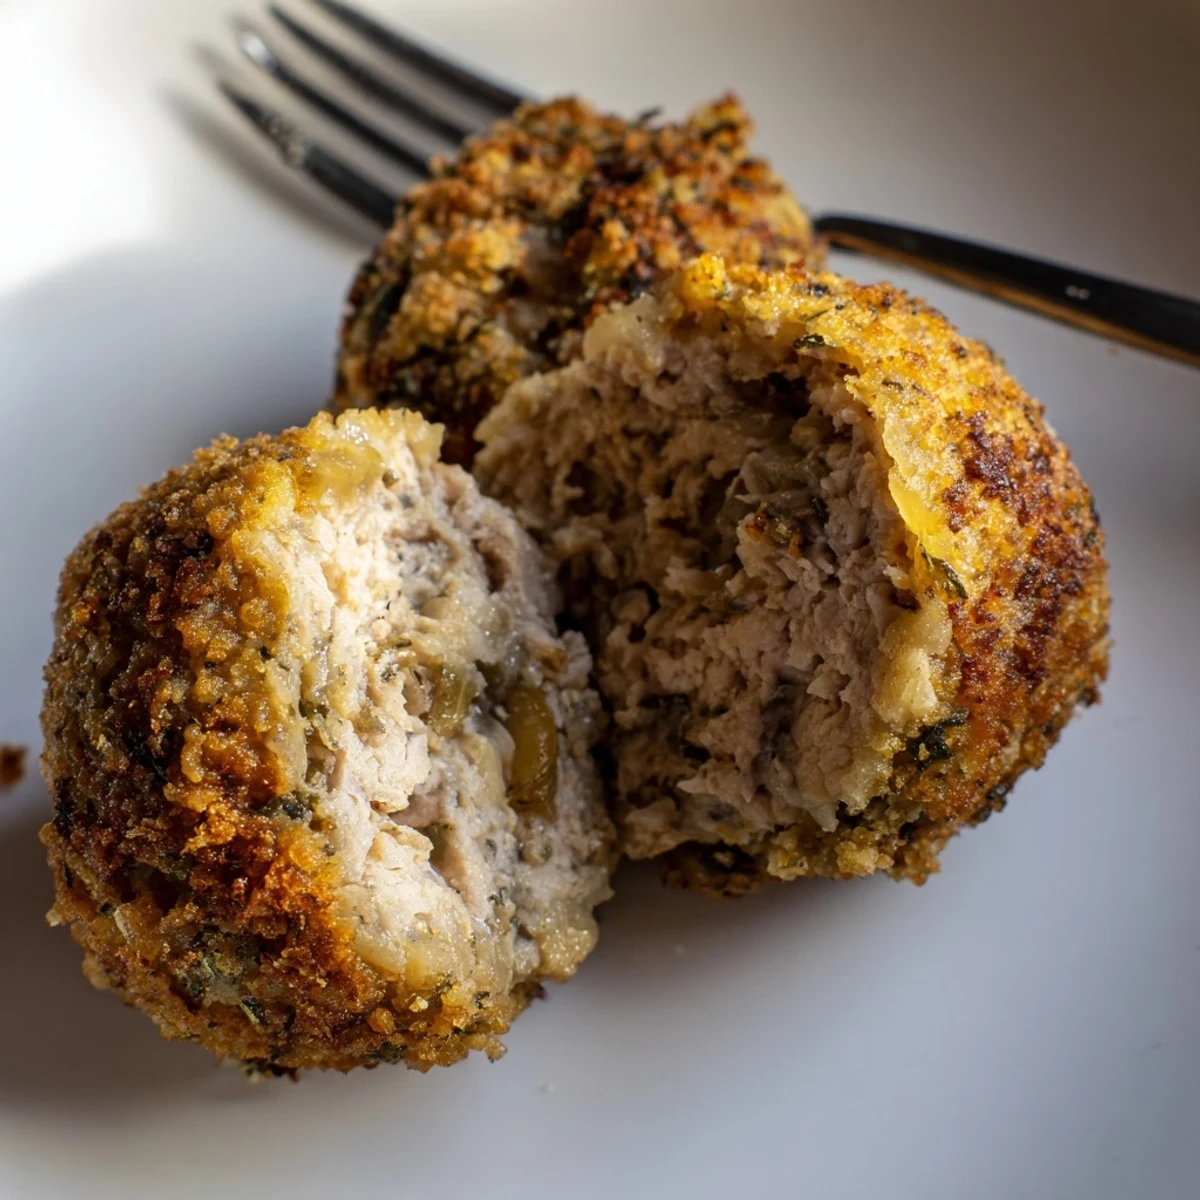
- Bake for 20-25 minutes, rotating the tray halfway, until balls are golden brown and their aroma fills your kitchen (74°C/165°F inside means they’re done).
- Serve and enjoy:
- These are best piping hot with your favorite dip, or tucked inside wraps — don’t forget to taste one right from the tray.
 Save
Save Sharing these chicken balls with my neighbor one winter evening turned a simple meal into a reason to linger at the table; suddenly, dinner was about stories and laughter, not just food.
Serving Suggestions That Shine
I’ve learned these are irresistible with a tangy honey-mustard sauce or a dollop of cranberry compote if you want a sweet hit. For a main, I like to serve them over roasted root vegetables tossed with herbs from my windowsill pot, or tuck them into a warm pita with crisp lettuce and lemony yogurt.
Making This Dish Gluten-Free
Swapping in gluten-free breadcrumbs is an easy fix that keeps everyone happy. Double check all your packaging if allergies are a concern — even the tiniest sprinkle of regular breadcrumbs can trip you up, as I found out once making these for a potluck.
Getting Creative With Leftovers
The day after, leftover chicken balls make a surprising lunch, sliced into salads or packed into a wrap. I’ve even served them cold with a herby dip and they hold their own just fine at picnics or in lunchboxes.
- Try crumbling a couple into soup for bonus heartiness.
- Freeze any extras — they reheat well for quick meals.
- Don’t forget a squeeze of fresh lemon to wake up the flavors if serving cold.
 Save
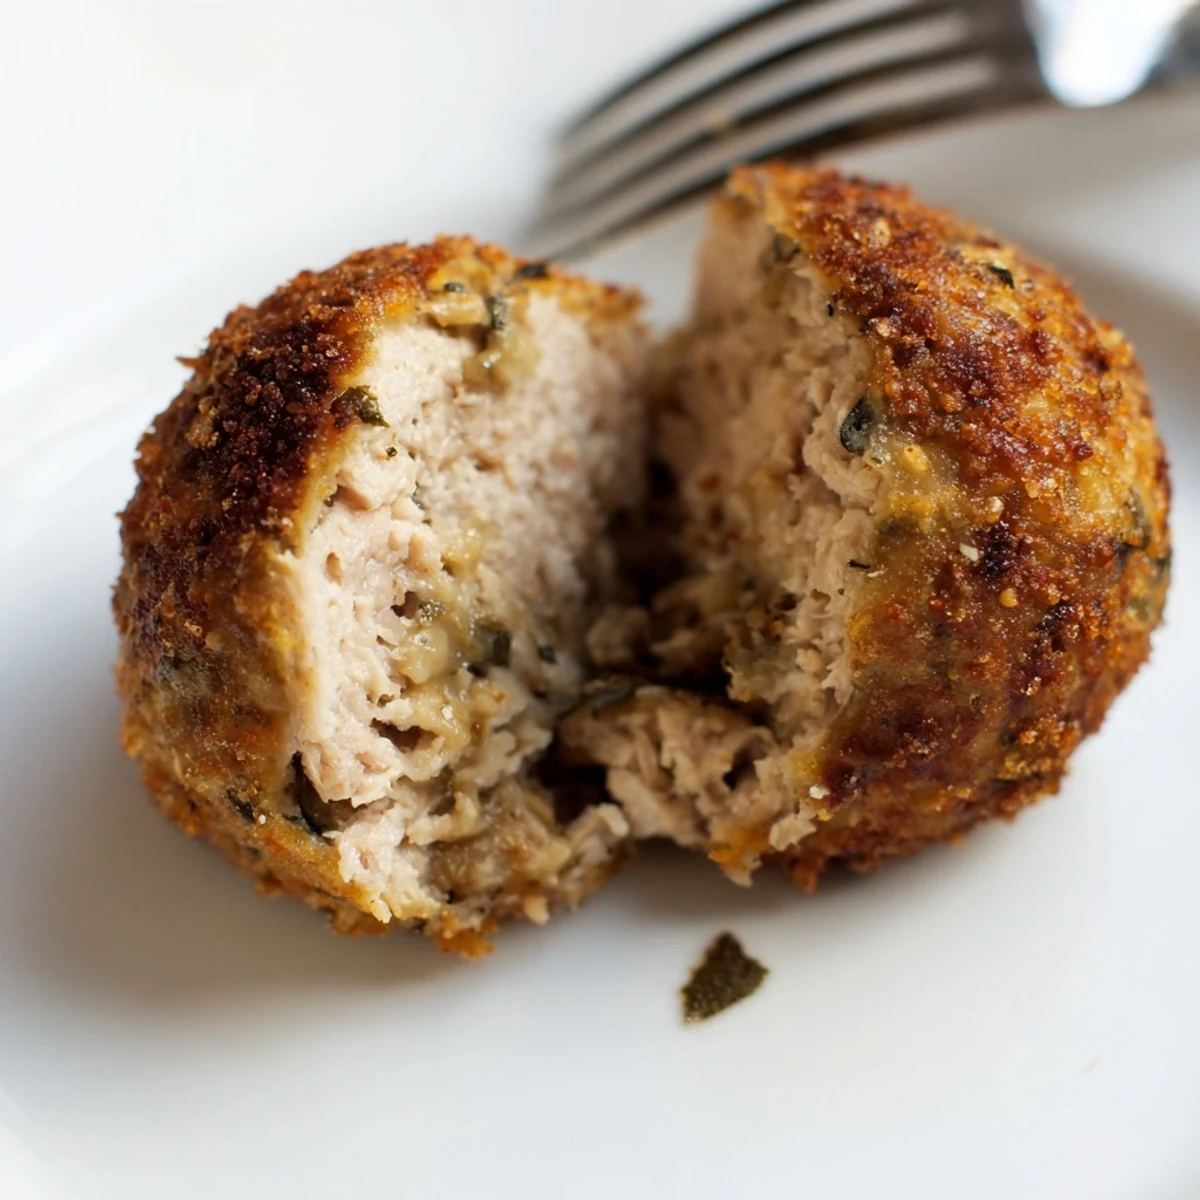
Save Chicken, sage, and onions prove themselves a perfect trio every time. However you serve these, expect them to vanish fast — and maybe become your new standby for any occasion.
Recipe Questions & Answers
- → How do I keep the chicken balls moist?
-
Use thigh meat or add a touch of olive oil and avoid overmixing. Breadcrumbs and a beaten egg help retain moisture; do not compact the mixture when shaping.
- → Can I make a gluten-free version?
-
Yes. Substitute regular breadcrumbs with gluten‑free crumbs or ground oats certified gluten‑free, and verify all labels for hidden gluten.
- → Is it better to bake or fry them?
-
Baking gives a lighter, evenly browned exterior and is hands-off (200°C/400°F for 20–25 minutes). Shallow-frying yields a crisper crust but requires more oil and attention.
- → How can I tell when they are cooked through?
-
The safest check is an internal temperature of 74°C/165°F. Visually, they should be golden and juices run clear when pierced.
- → What herbs and spices pair well with sage and onion?
-
Thyme and a pinch of nutmeg complement sage nicely; black pepper and a little salt enhance the chicken’s flavor. Fresh herbs give brighter notes than dried.
- → Can these be prepared ahead or frozen?
-
Yes. Shape the balls and freeze on a tray, then transfer to a bag. Bake from frozen, adding a few minutes to the cooking time, or thaw overnight in the fridge first.